 |
Spoiler warning! |
| This article contains plot details about events that occur later in the game. |
Information[]
Location: Tanzan Depths
Available: After Badge 16
Guide[]
Preparation[]
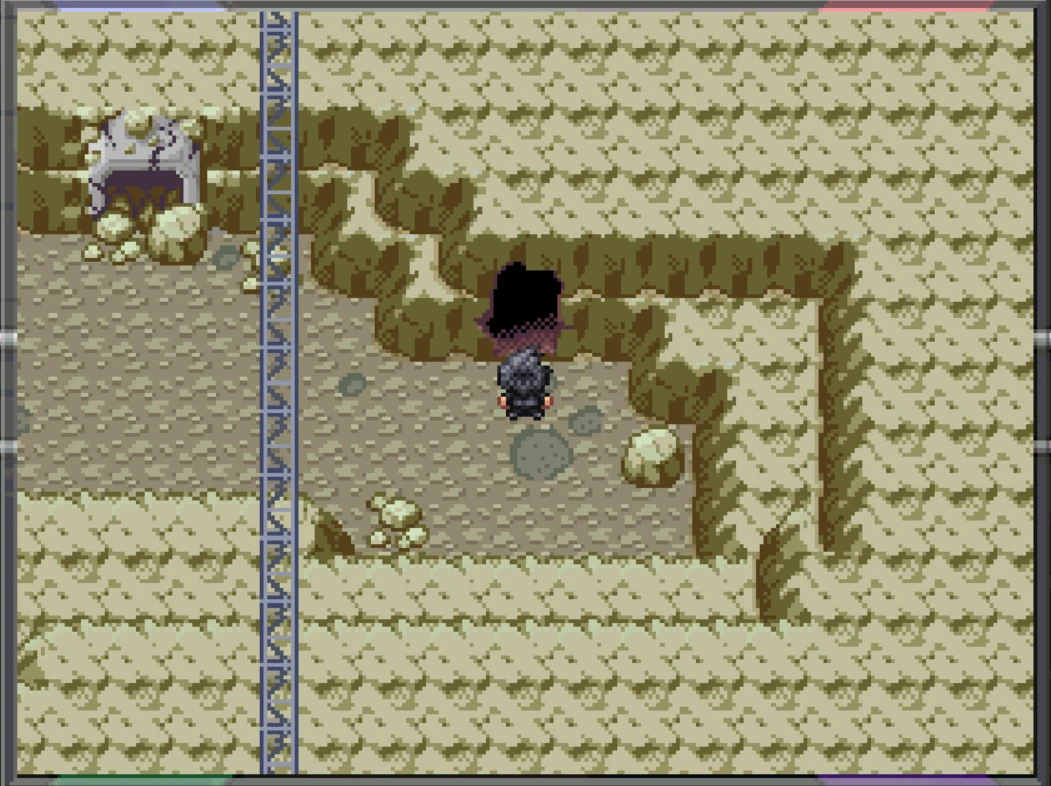
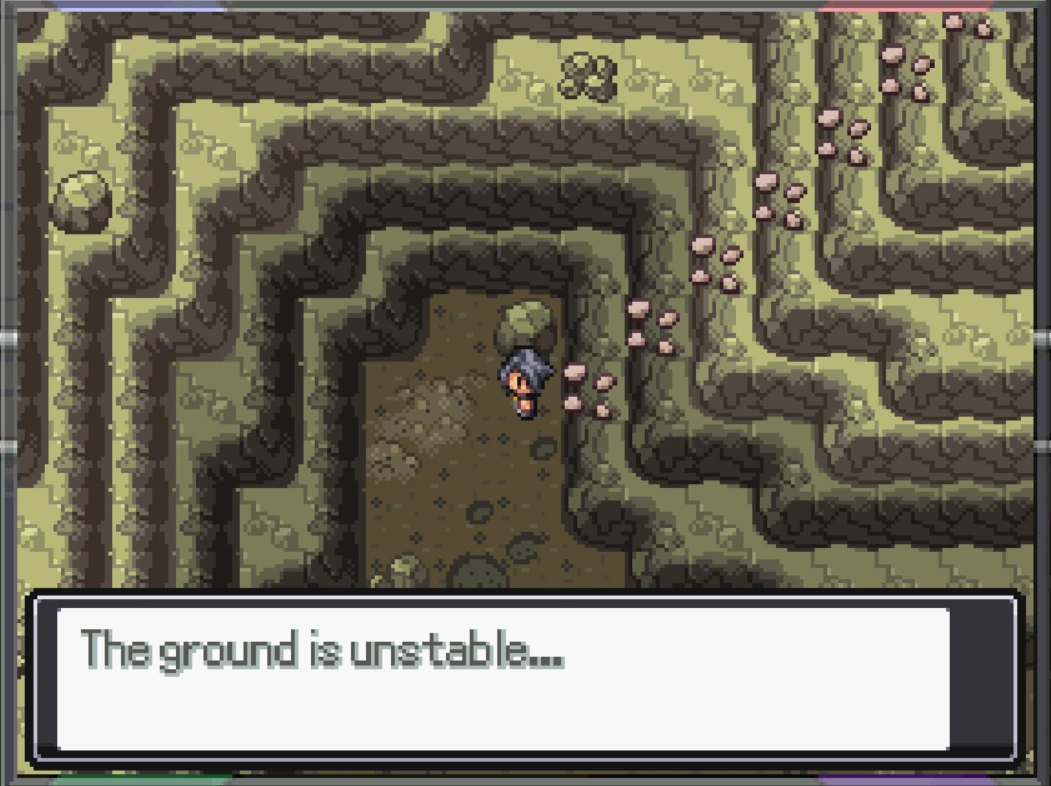
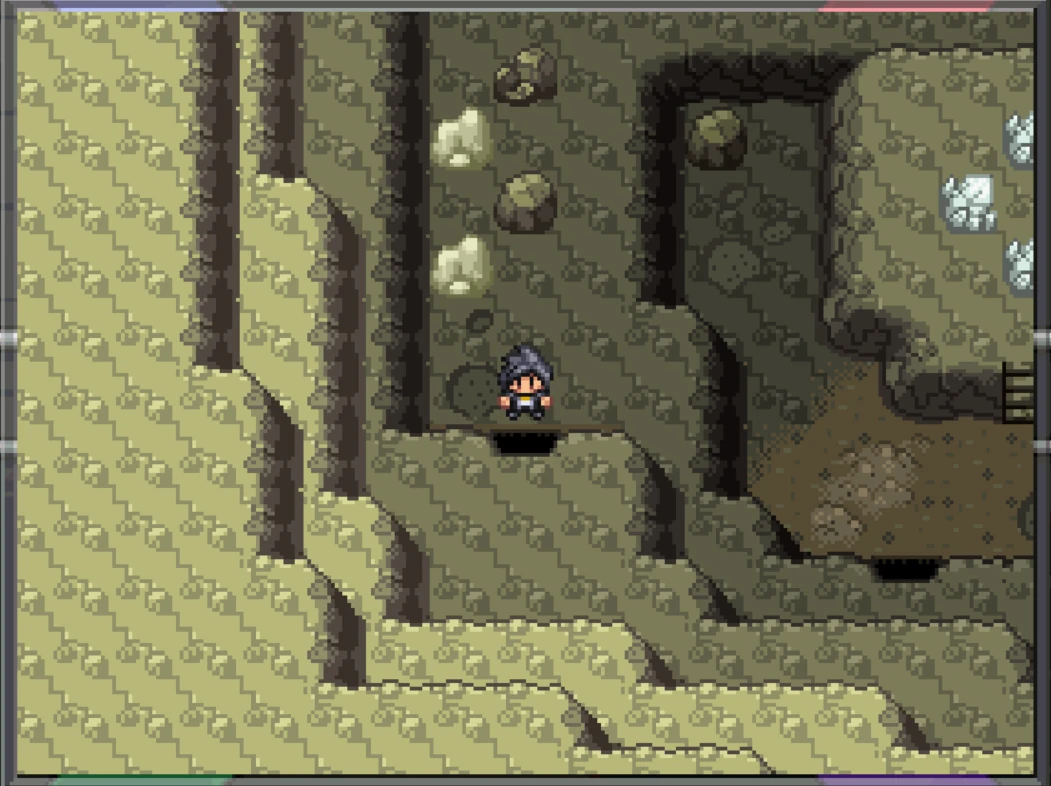
Go to Tanzan Cove, then go down into Tanzan Mountain and take the right path.
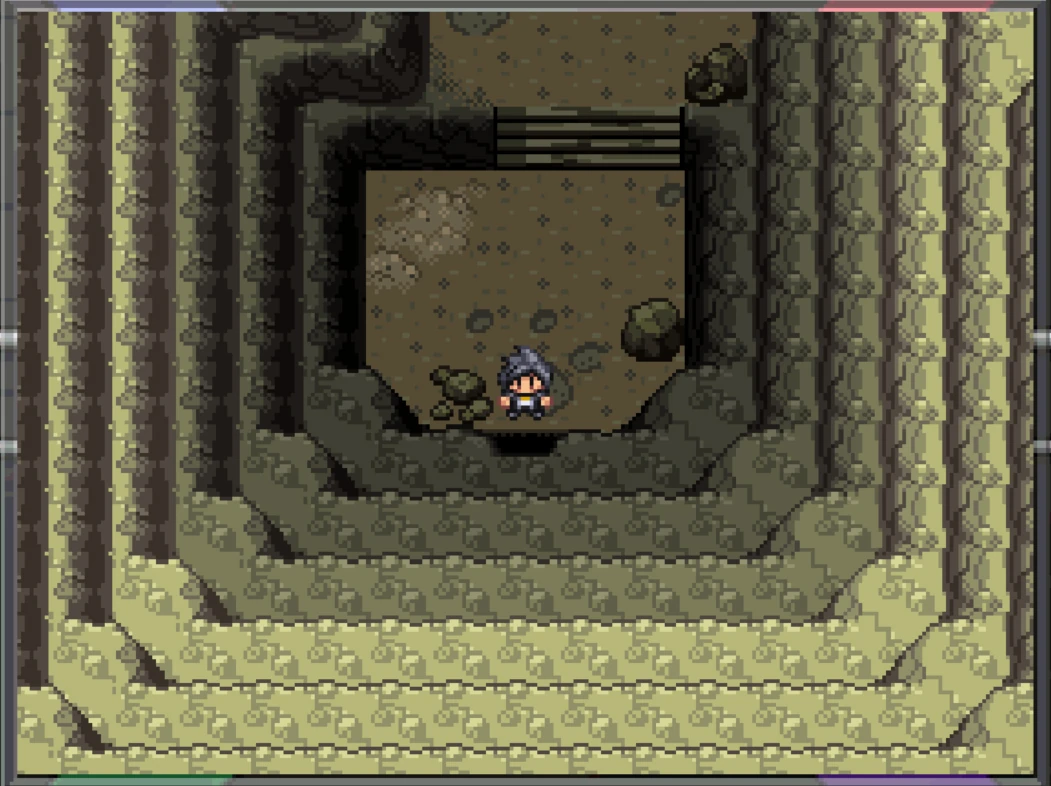
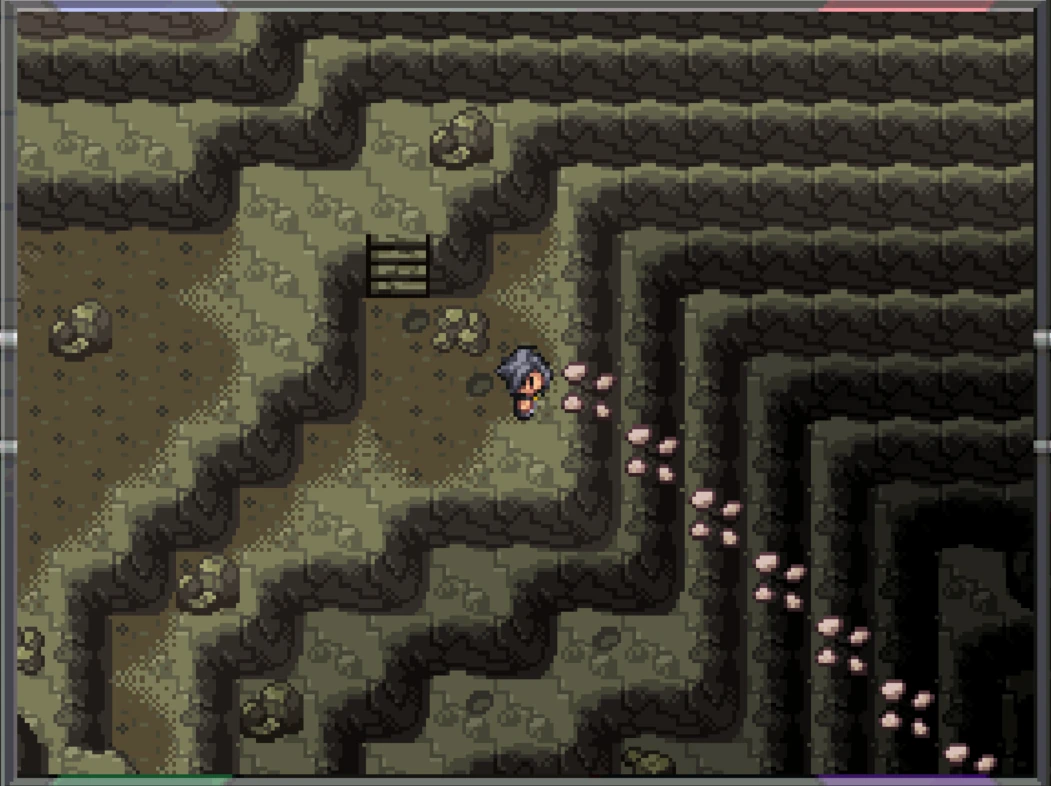
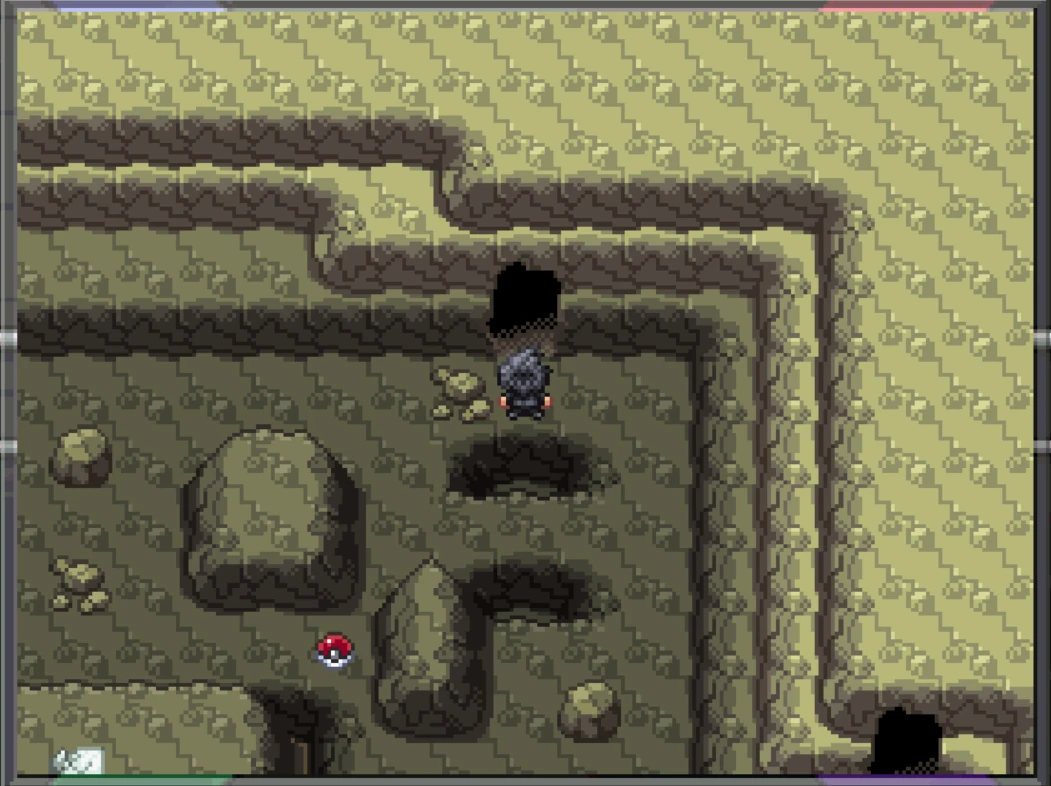
Go all the way right and go up, and then go all the way right and go up again to reach the opening in the left photo. Go to the bottom left corner to reach the exit like in the right photo.
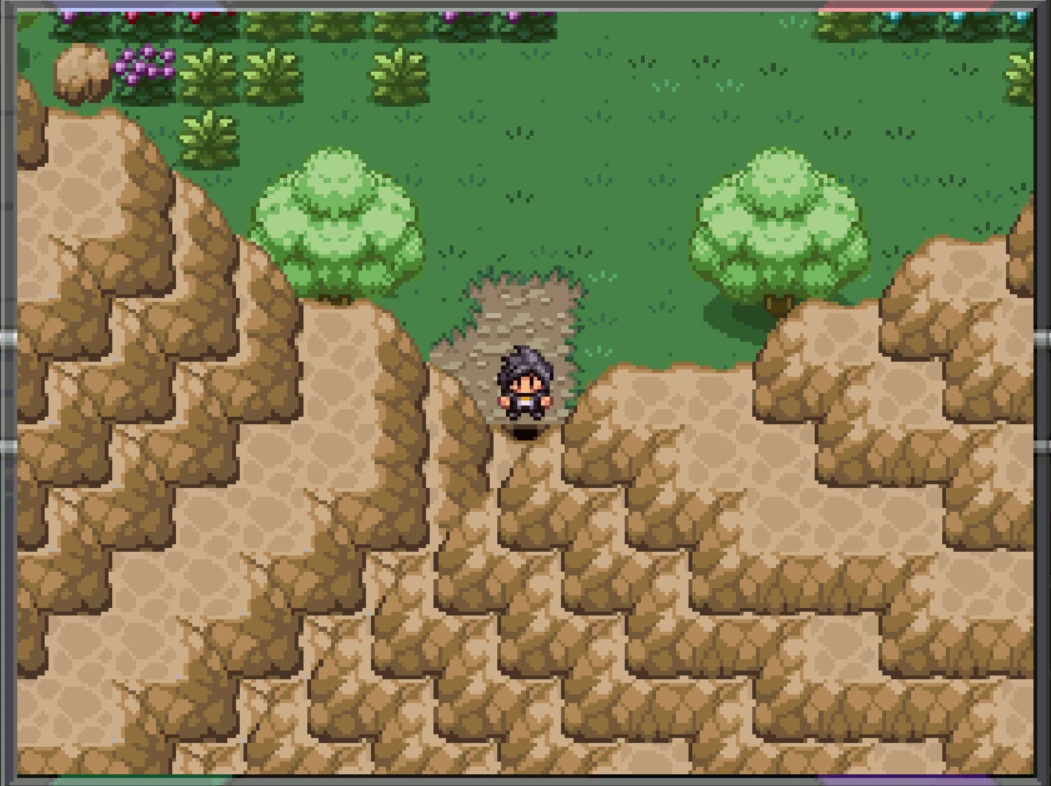
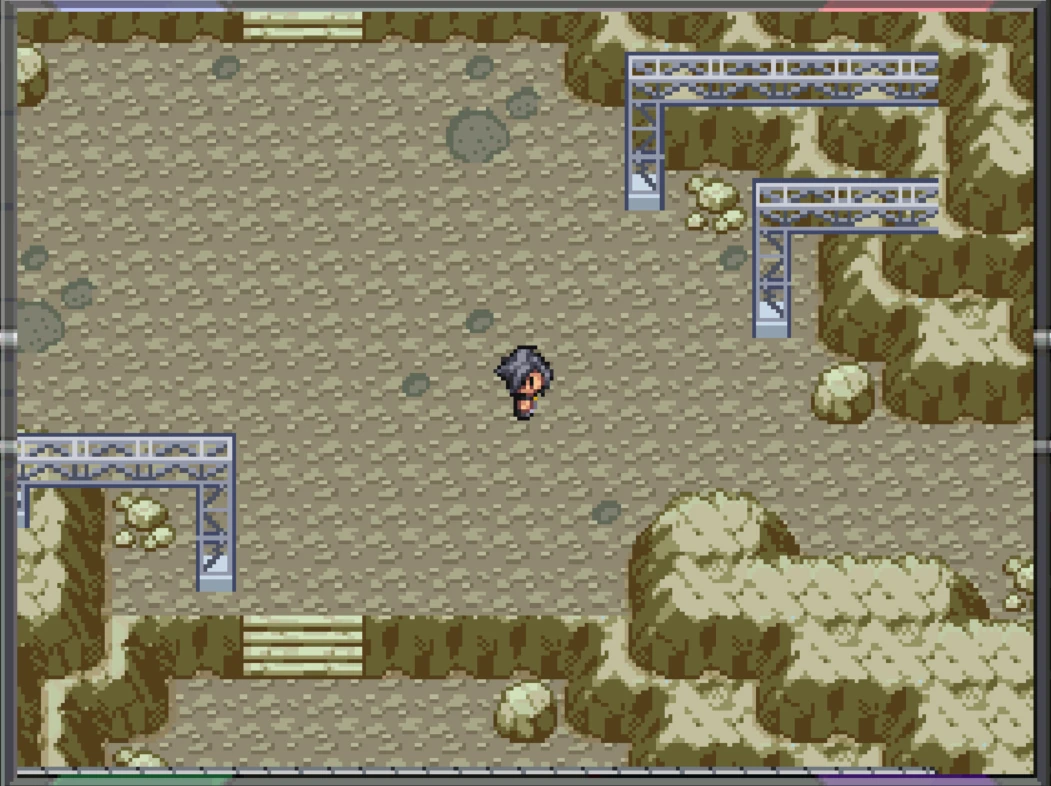
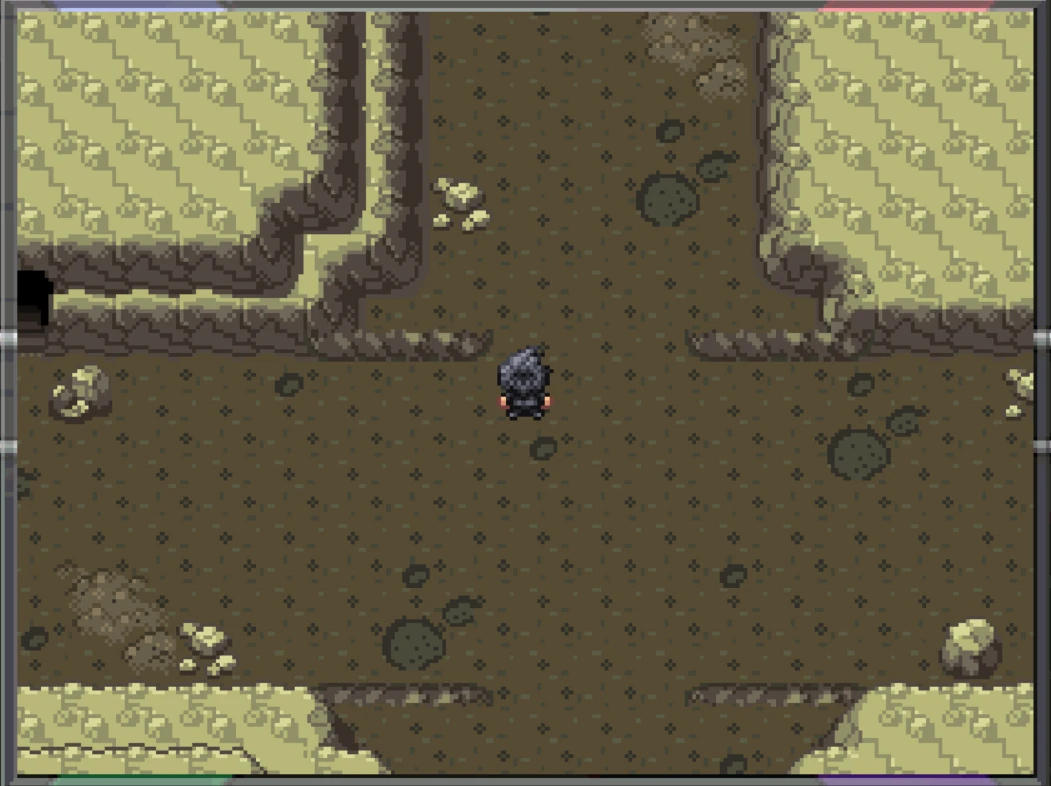
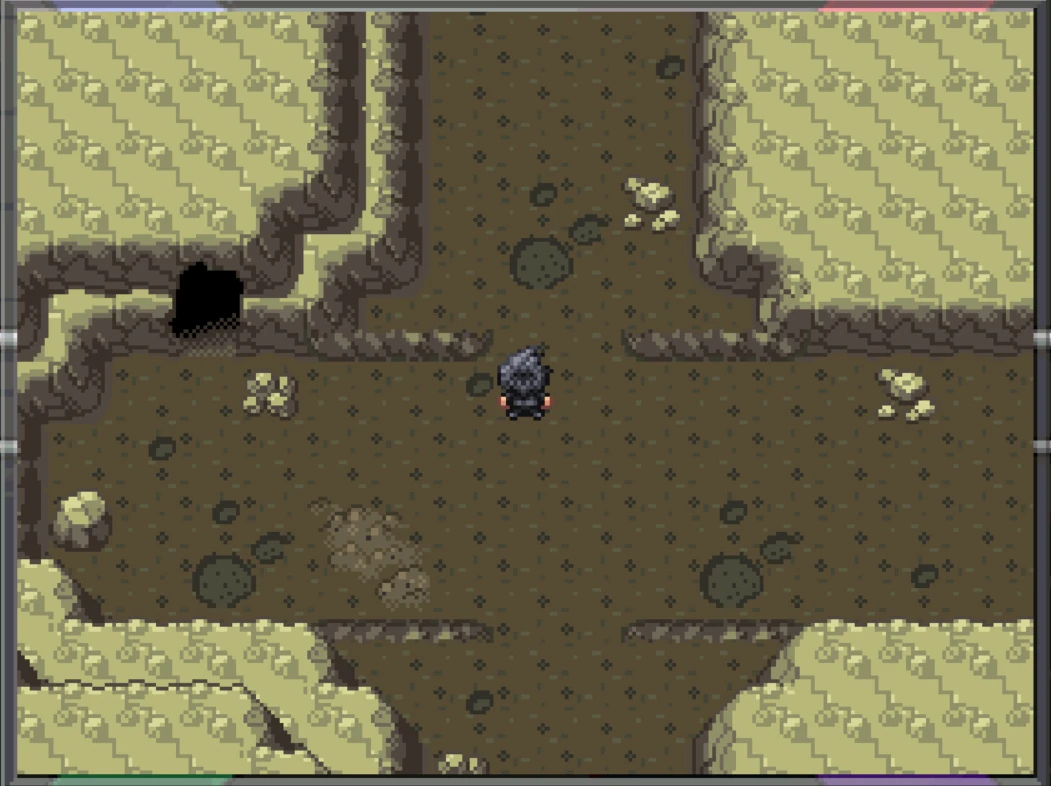
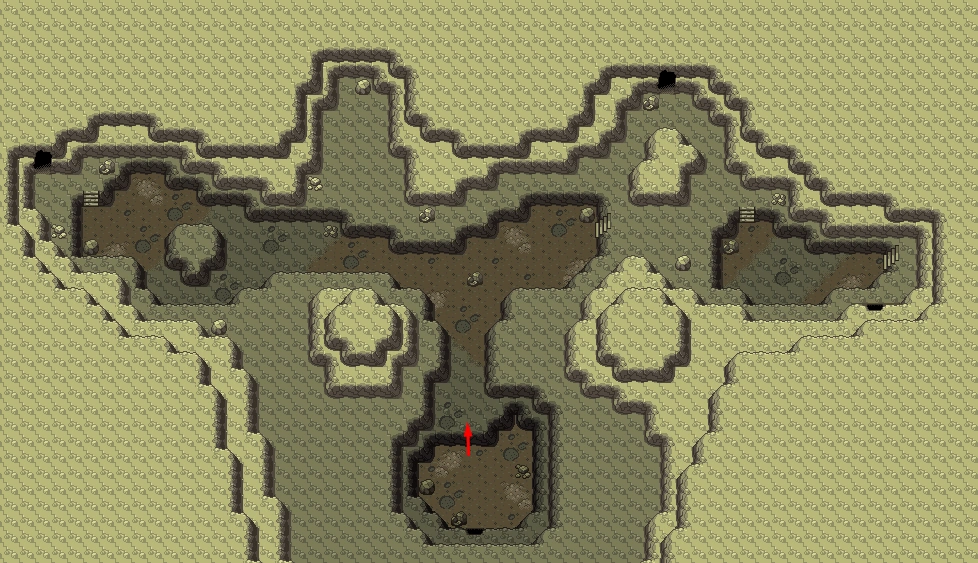
Once outside, go right and up at the intersection. Once you reach the upper intersection, go left until you reach another intersection.
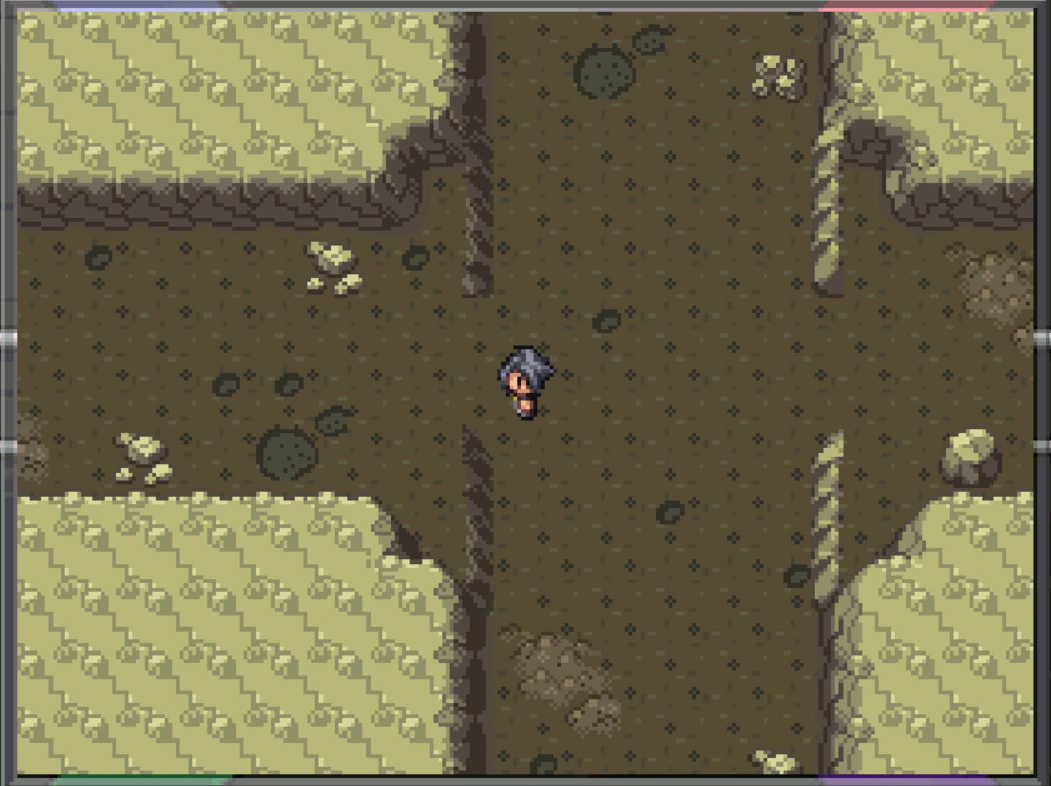
Go up at the intersection and go right across the metal pipes and into the cave.
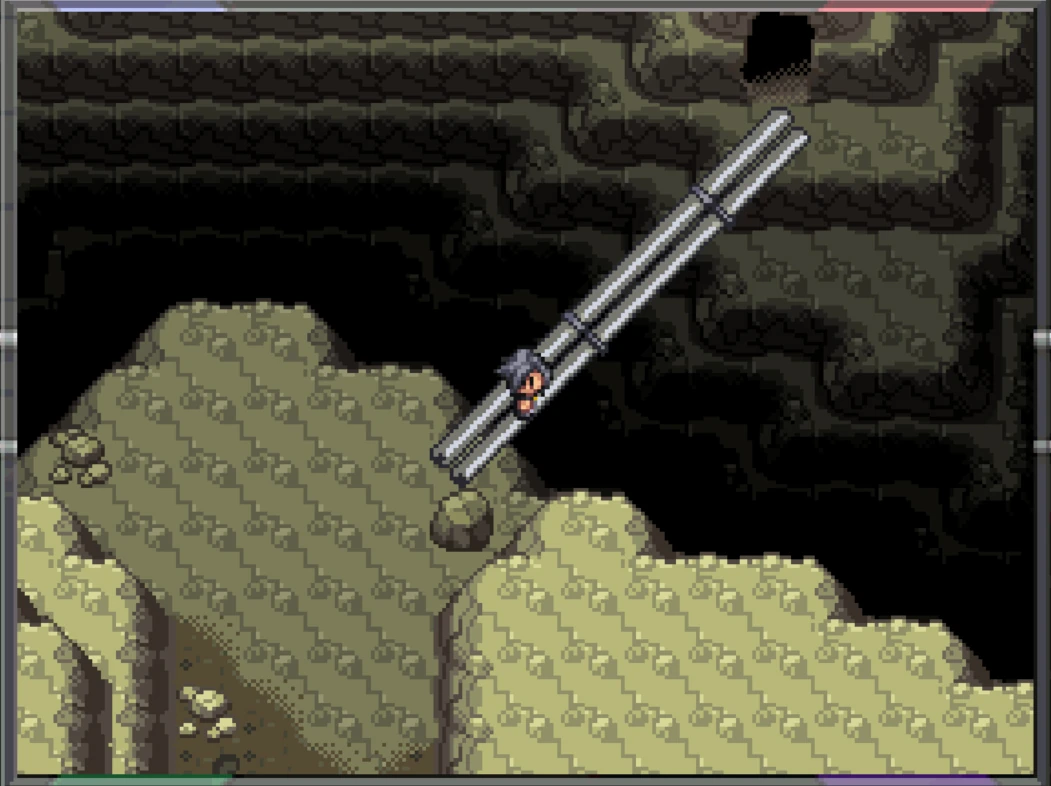
In the cave, go up the Rock Climb path and turn right. Go up the stairs and into the opening on the right.
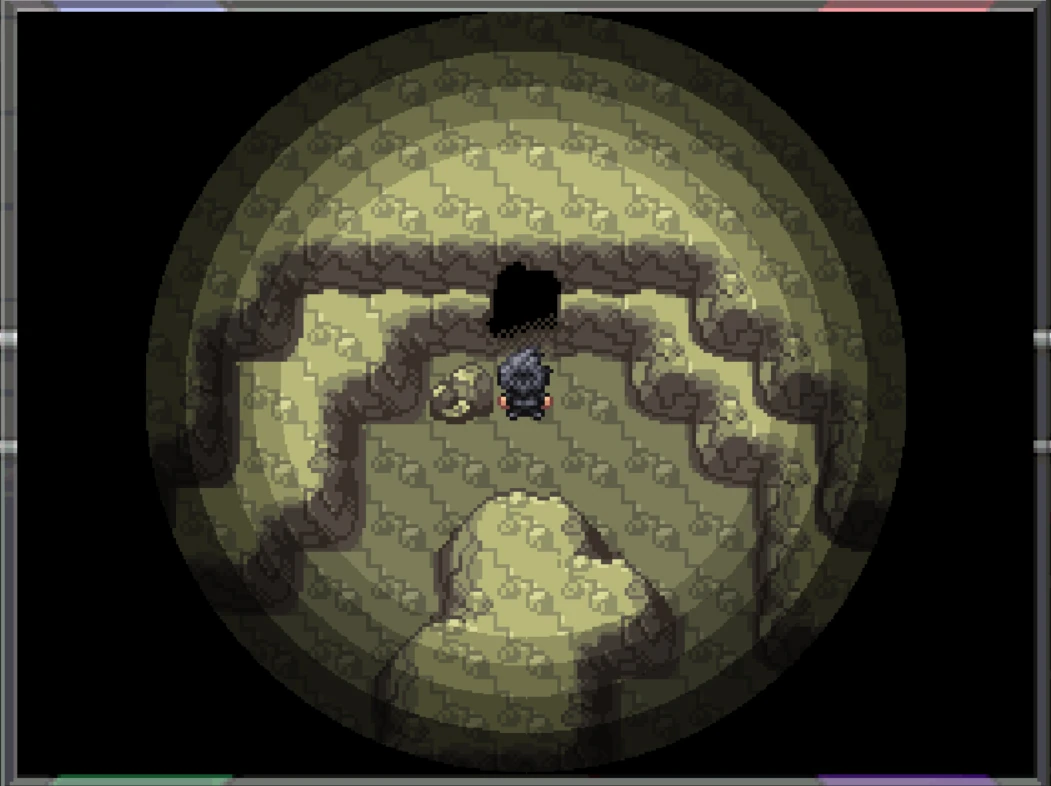
The platform with 4 crystals serves as a 4-button control pad that you will use to control Larvitar later. Start a wild battle, and use two instances of Earthquake, Magnitude, Bulldoze or Fissure to collapse the cave. End the battle after one instance of cave collapse, to make the control pad fall down further.
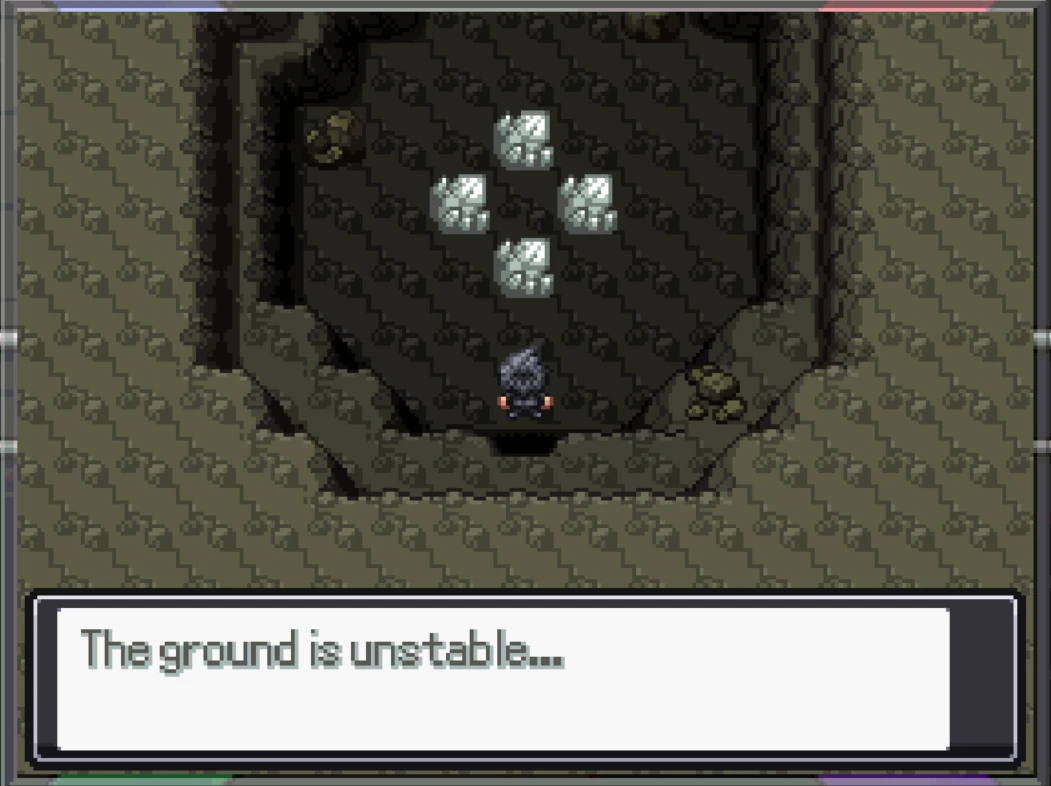
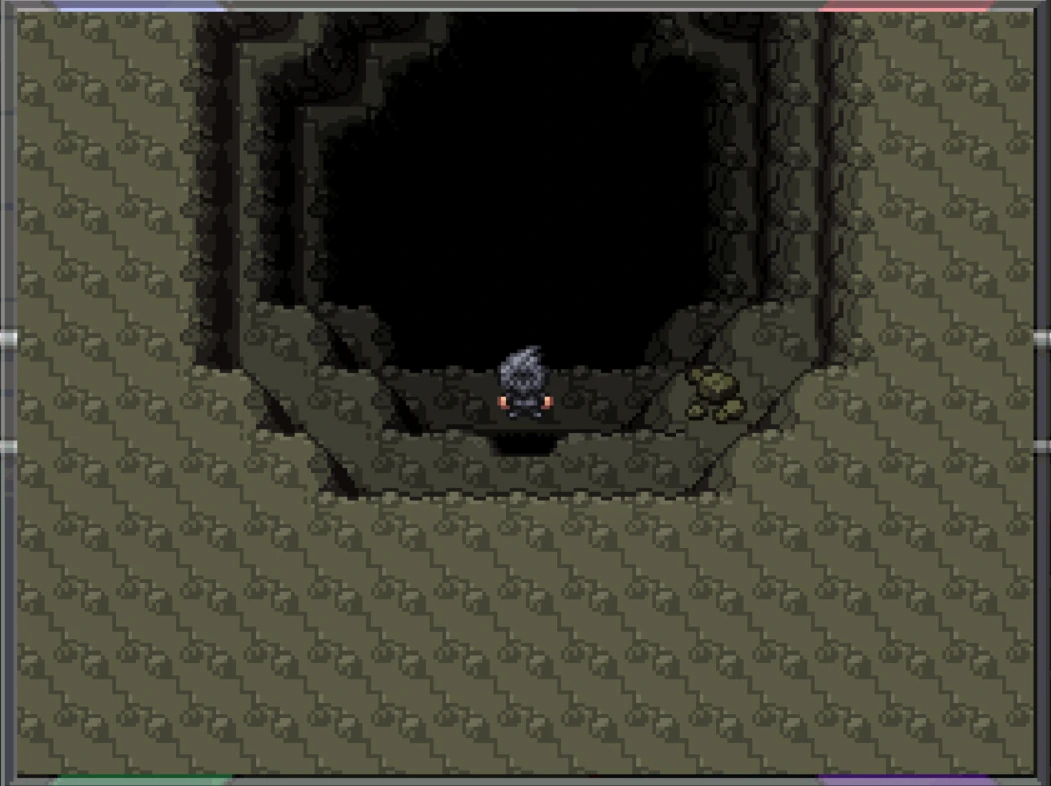
The whole area has three openings, which lead to three caves with three control pads. However, you only need to collapse the ground in one cave, and the ground and control pads in the other two will collapse as well.
Getting Larvitar[]
Return to Tanzan Cove and surf into the cave on the left side. Take the Rock Climb path down.

Start a wild battle, and use two instances of Earthquake, Magnitude, Bulldoze or Fissure to collapse the cave. End the battle after one instance of cave collapse, to make the ground collapse. After that, go down the newly created Rock Climb path on the right.
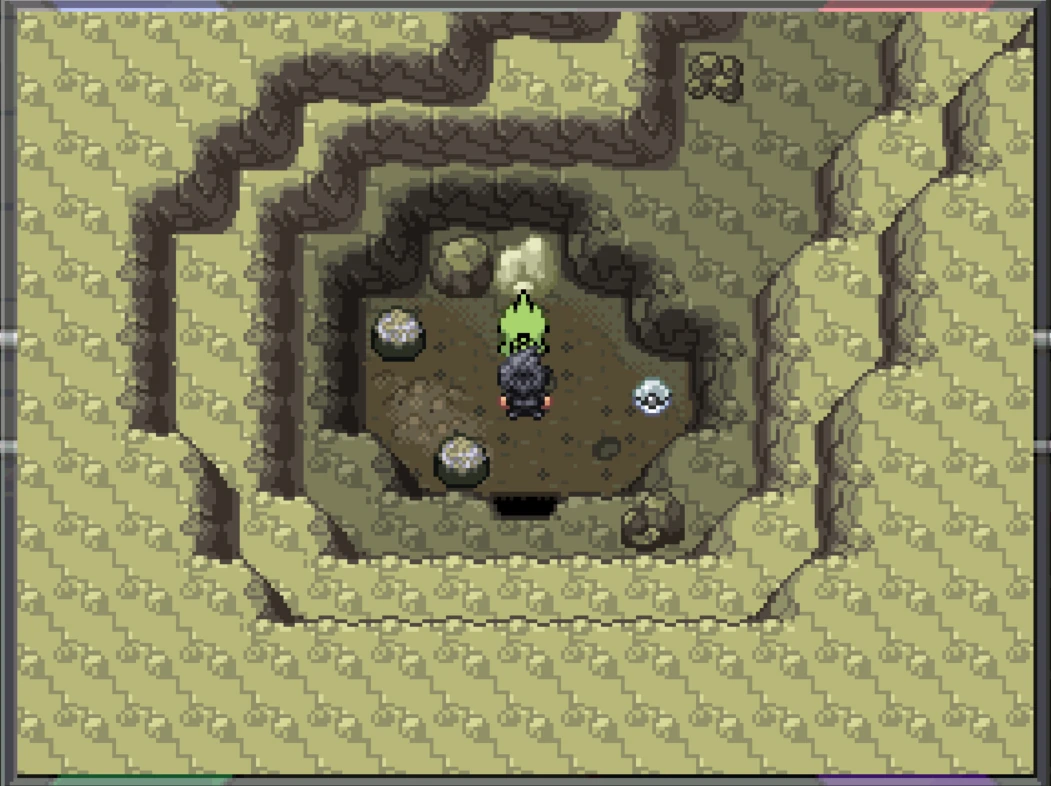
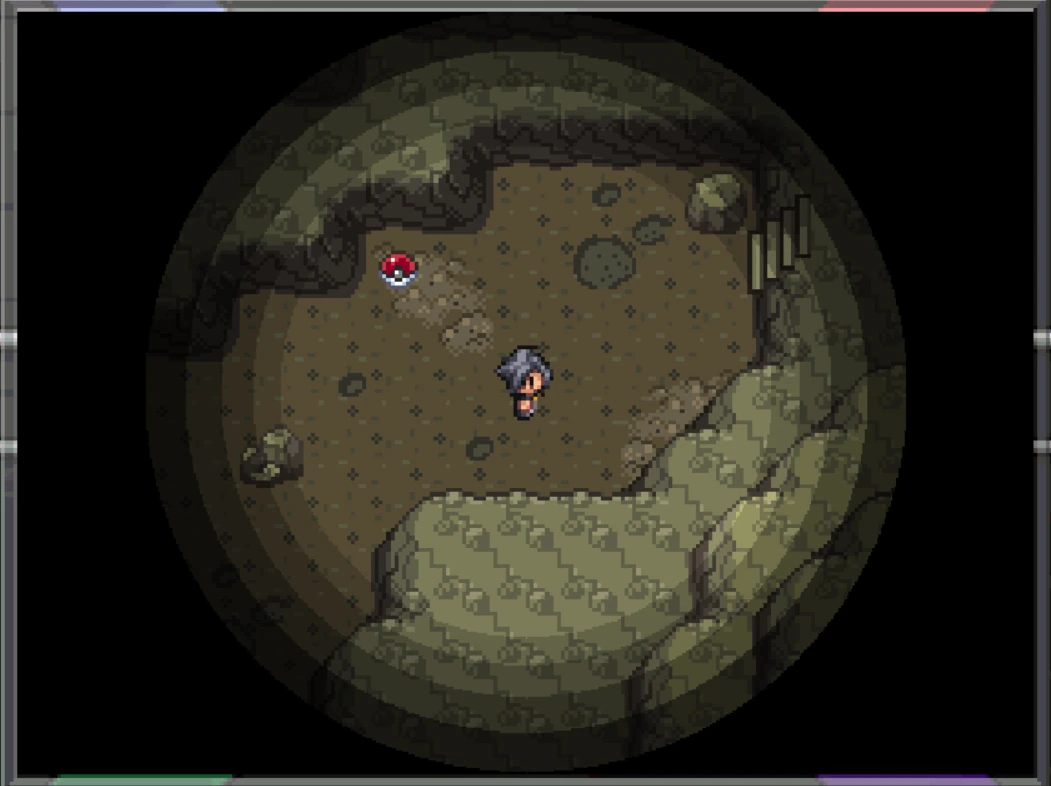
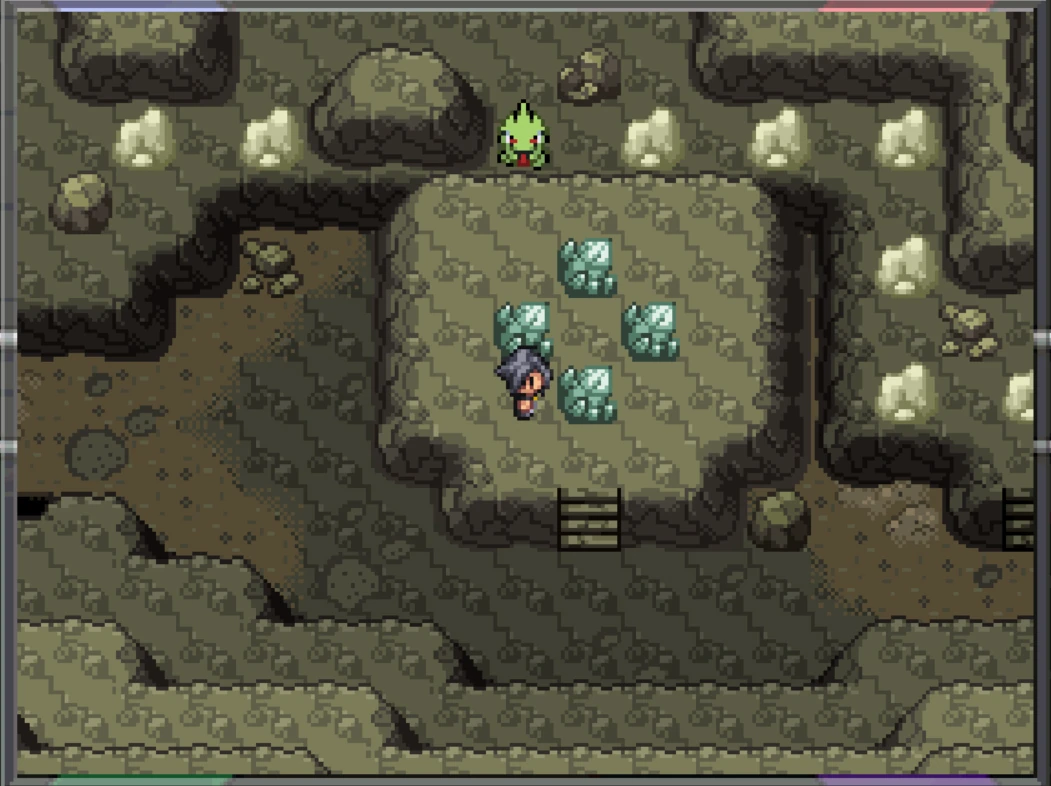
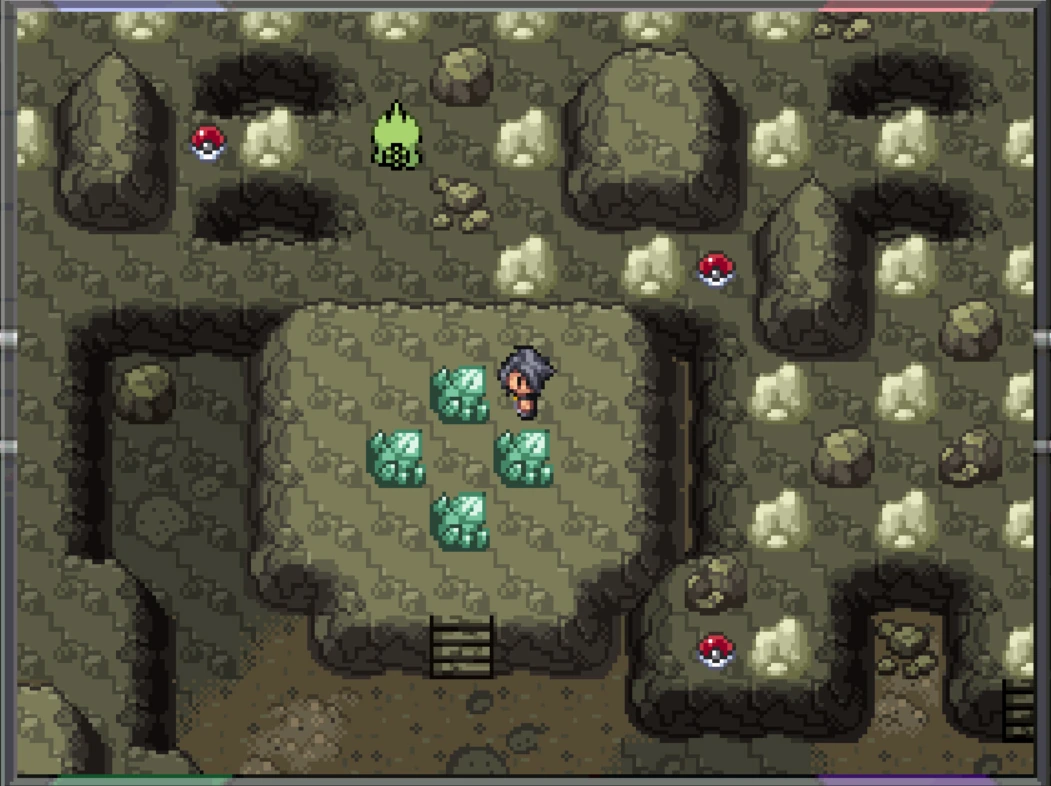
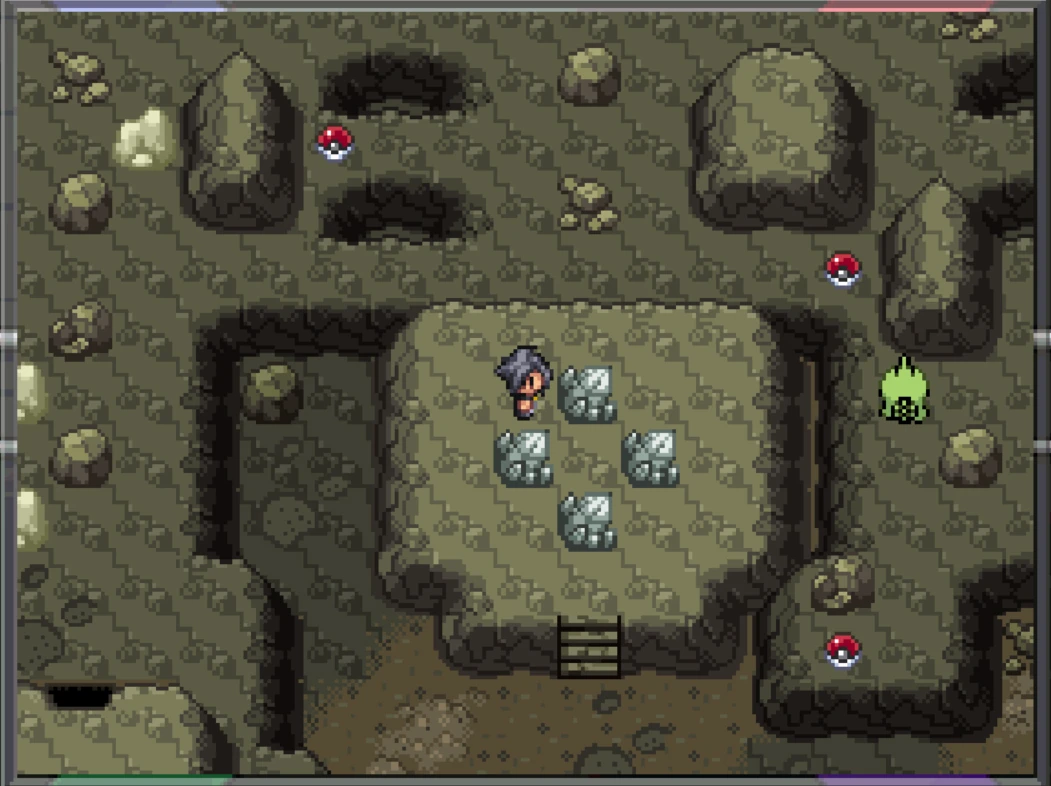
Activate the Green Crystal, then go right into the opening.
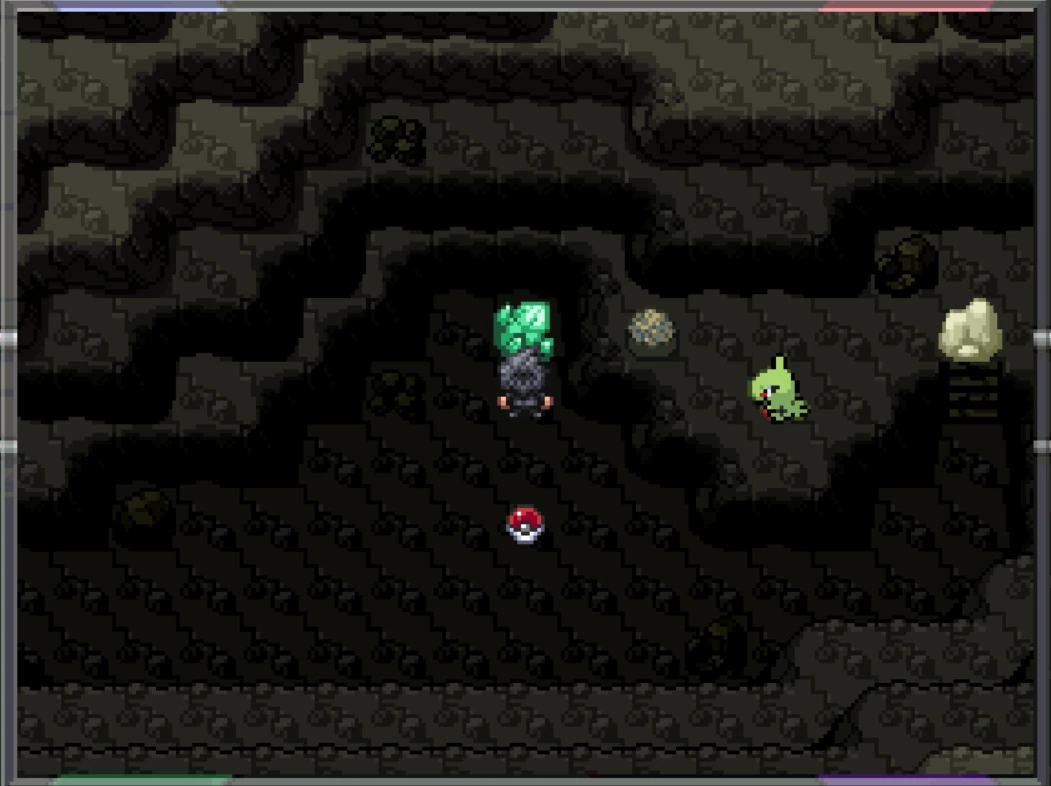
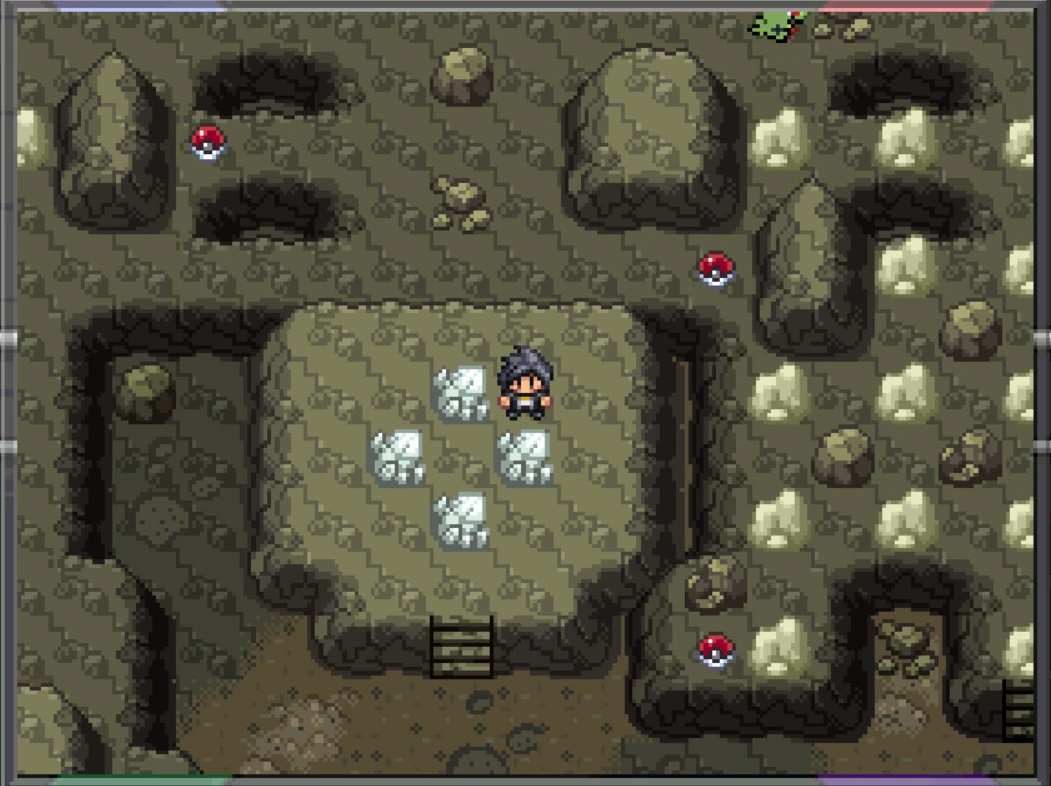
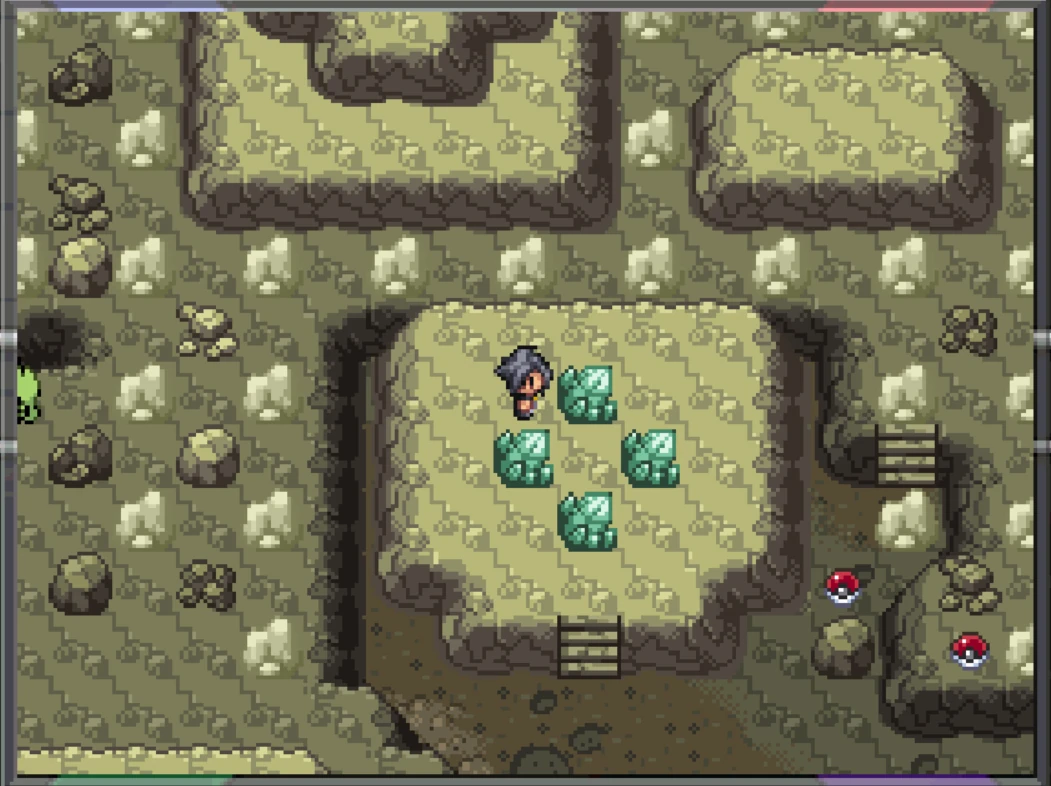
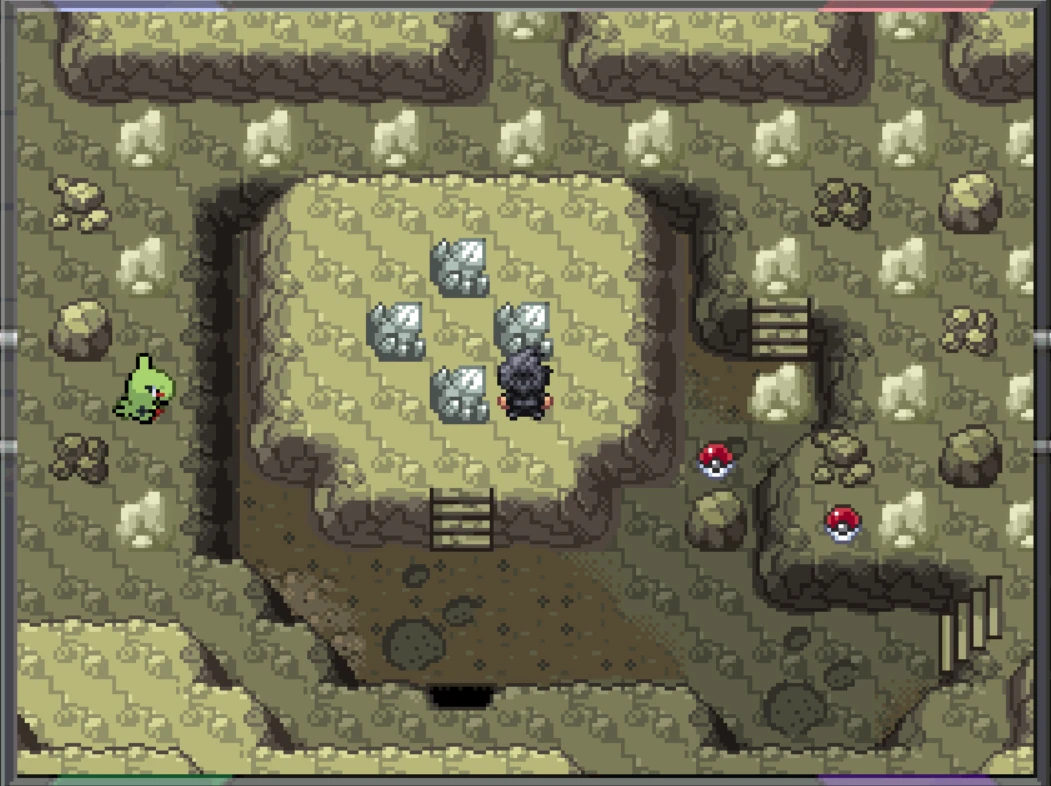
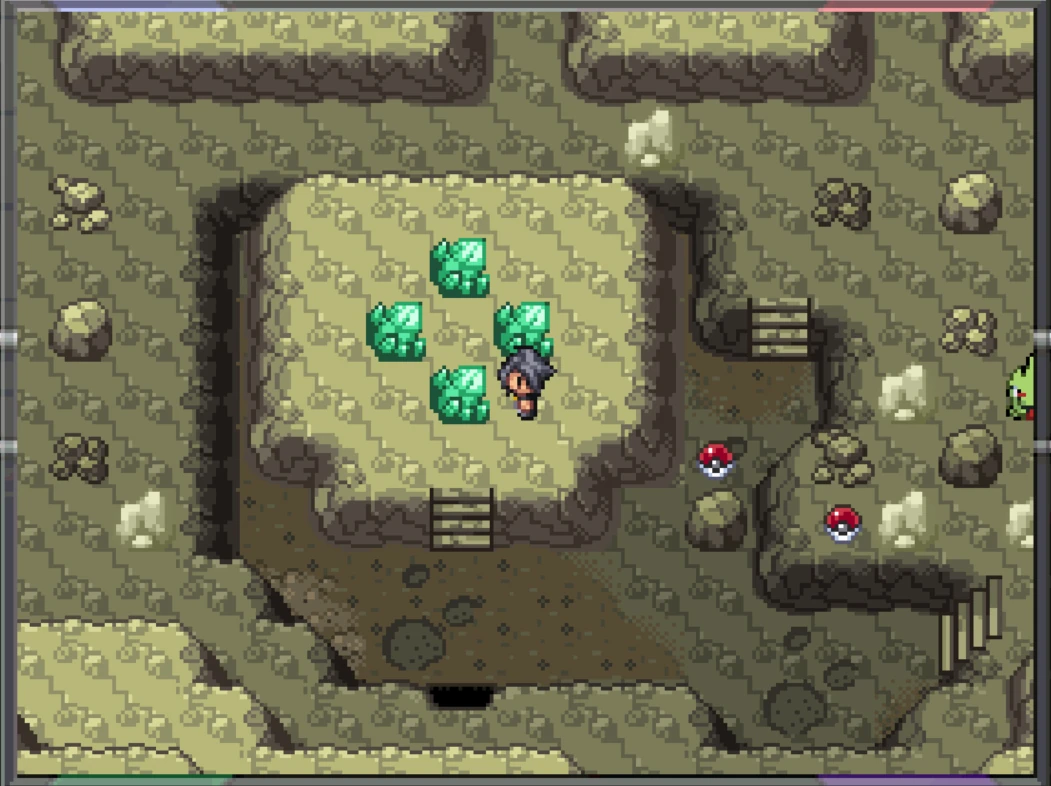
You will have to guide Larvitar to where you want it to go. The control pad you collapsed earlier will be your arrow keys and Larvitar is your player: interact with the upper crystal and Larvitar goes up, interact with the right crystal and Larvitar goes right.
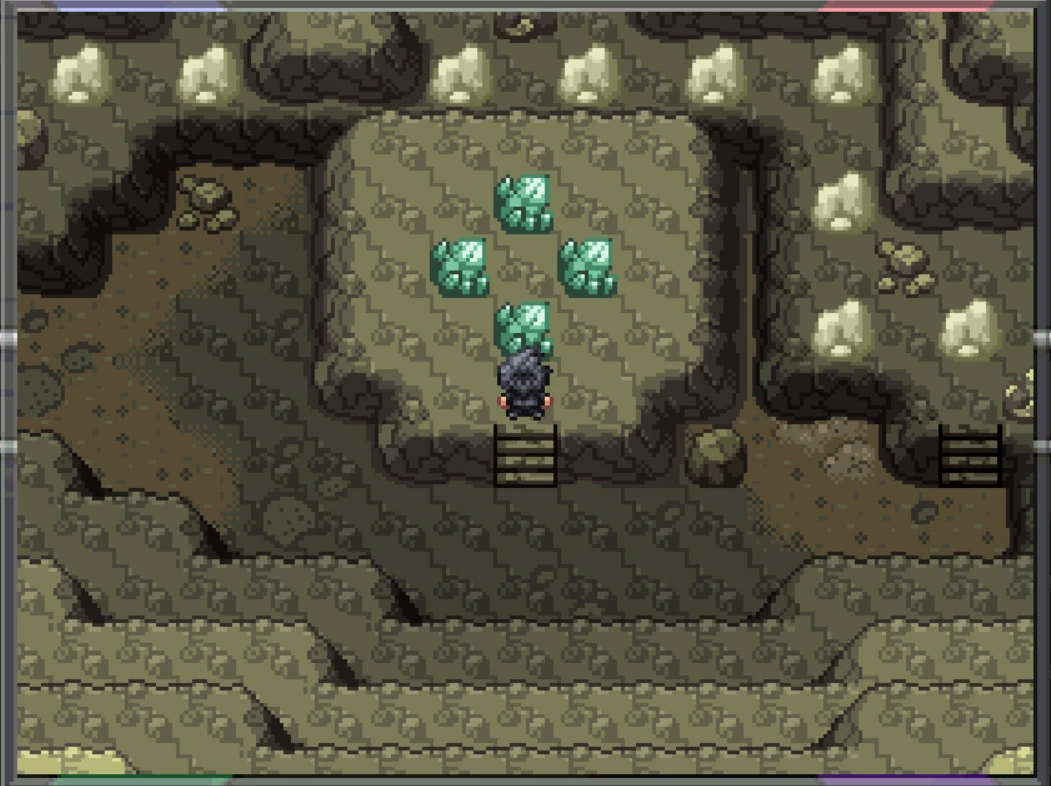
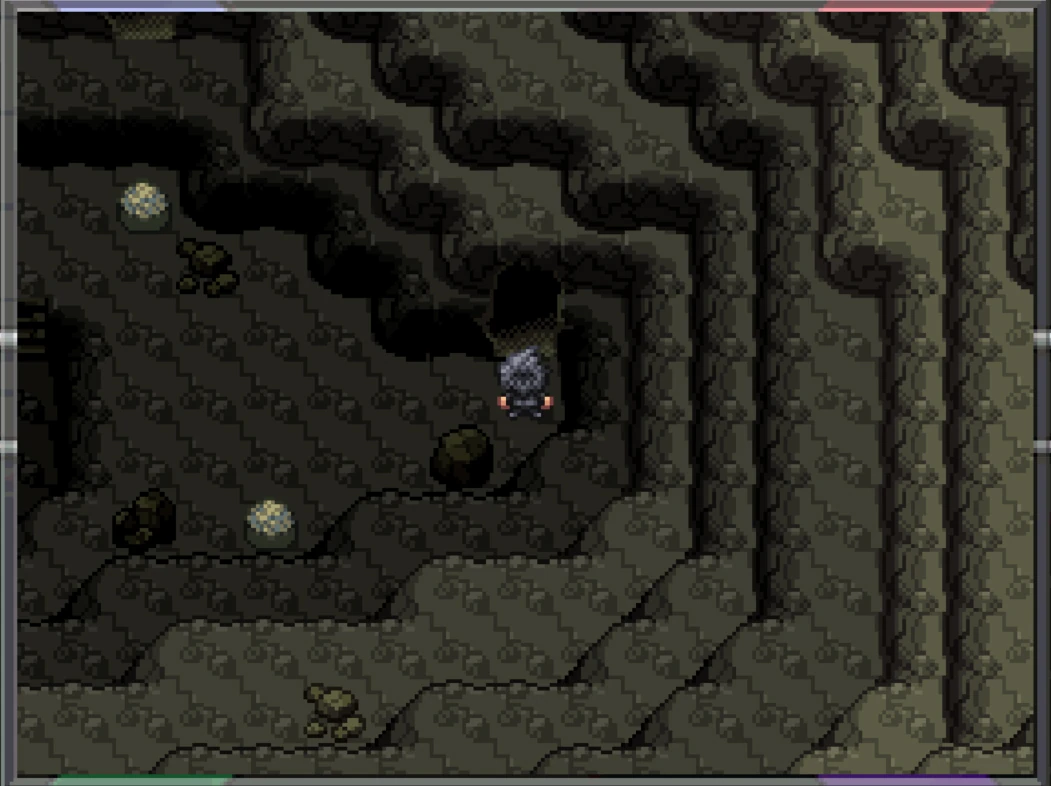
Follow the steps below to get all items and lead him to the exit. The photos show the position of the Larvitar after the actions in the caption are made.
Larvitar Crystal Puzzle 1[]
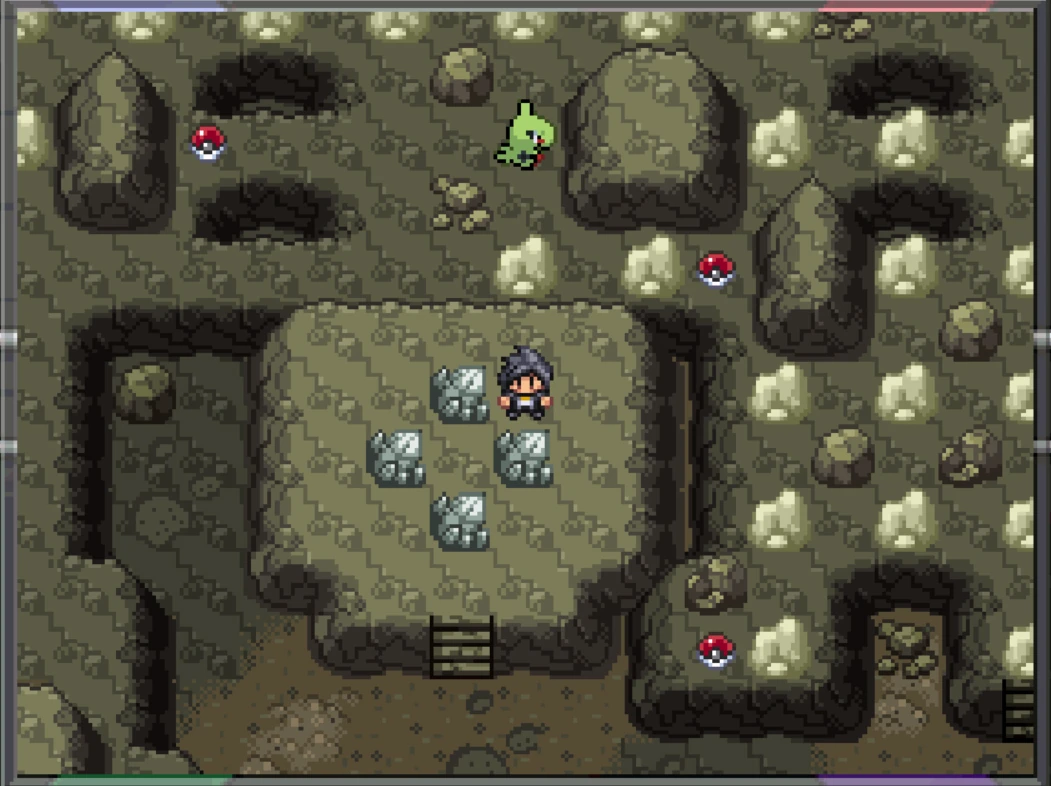
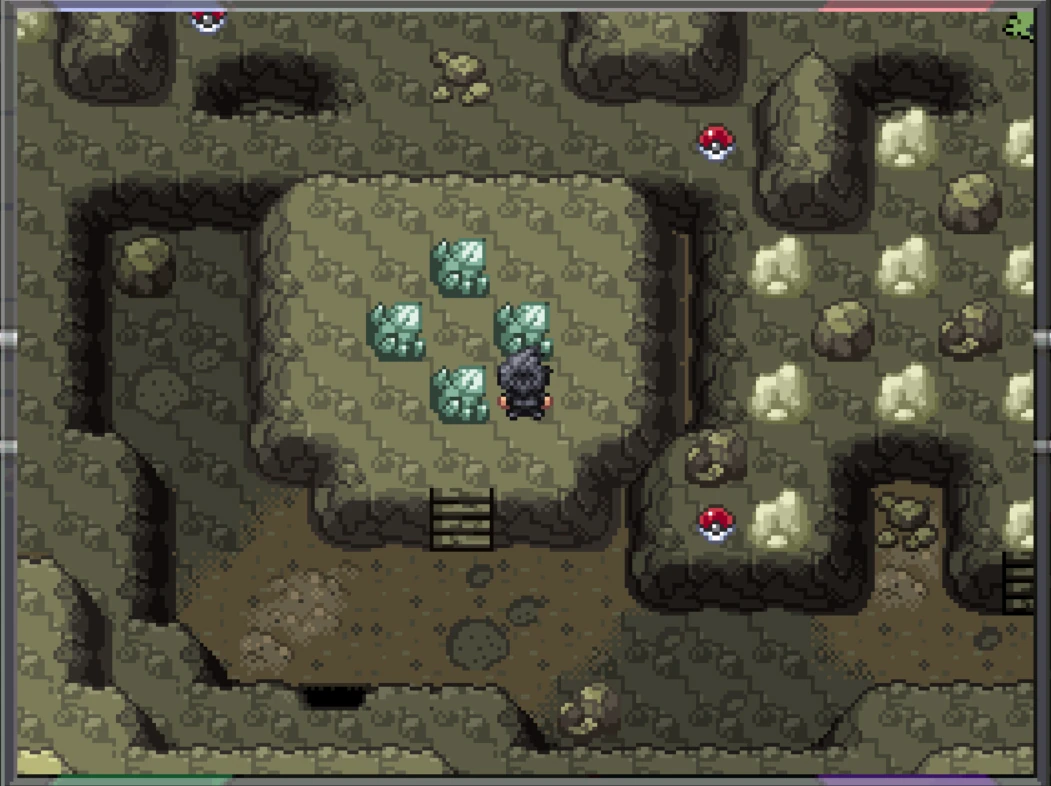
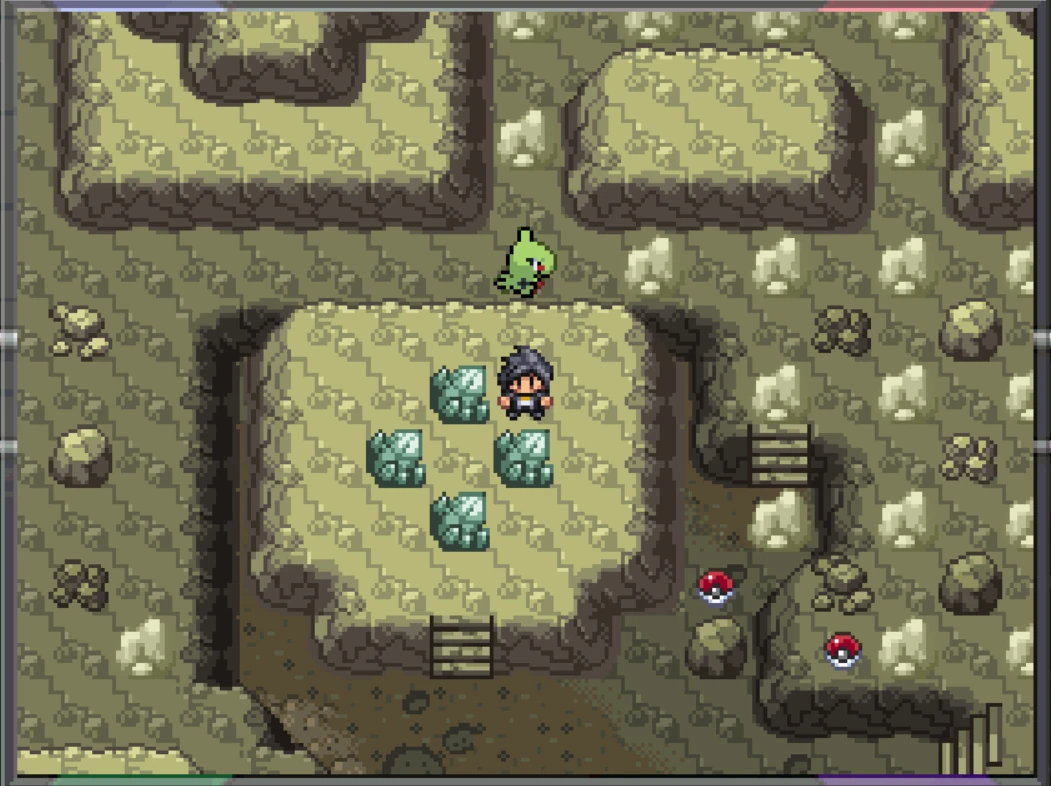
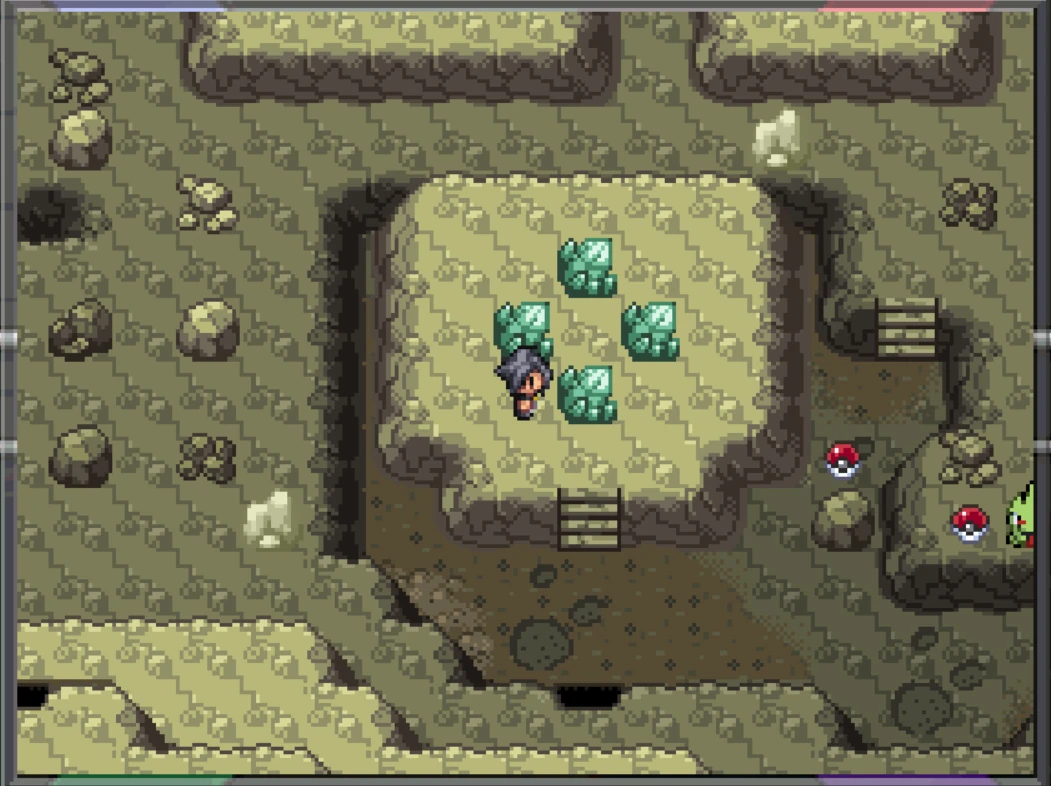
Up 3x and Right 2x. Then Down 1x and Right 3x.
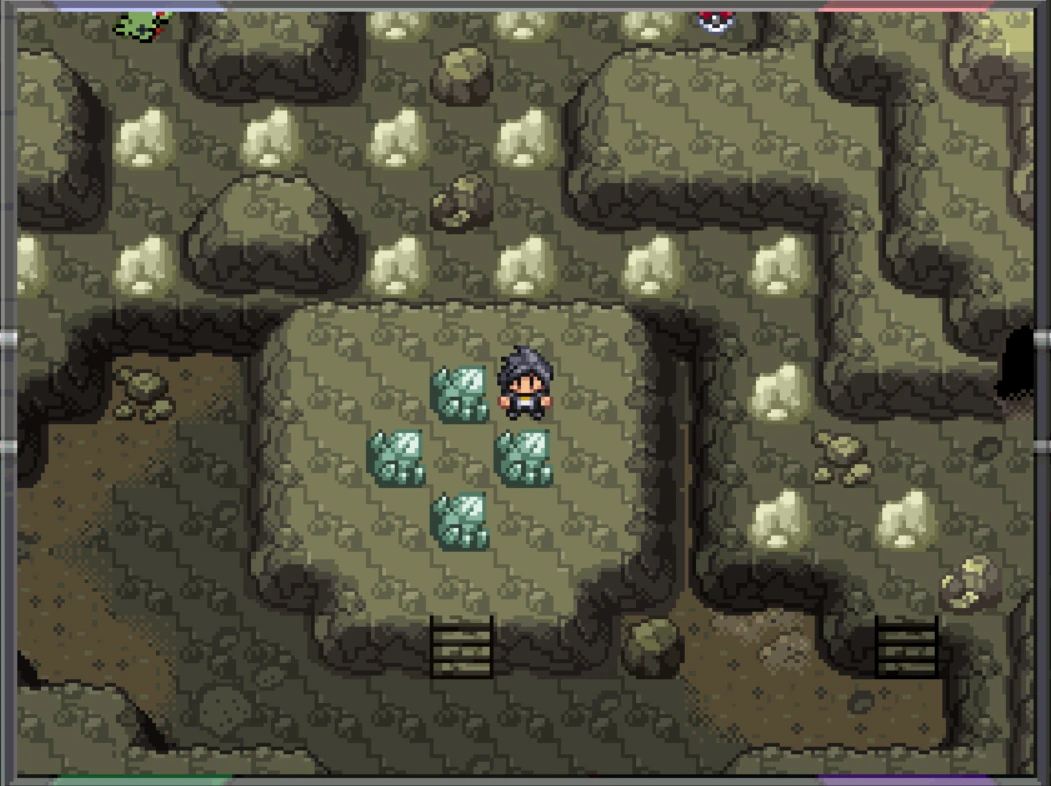
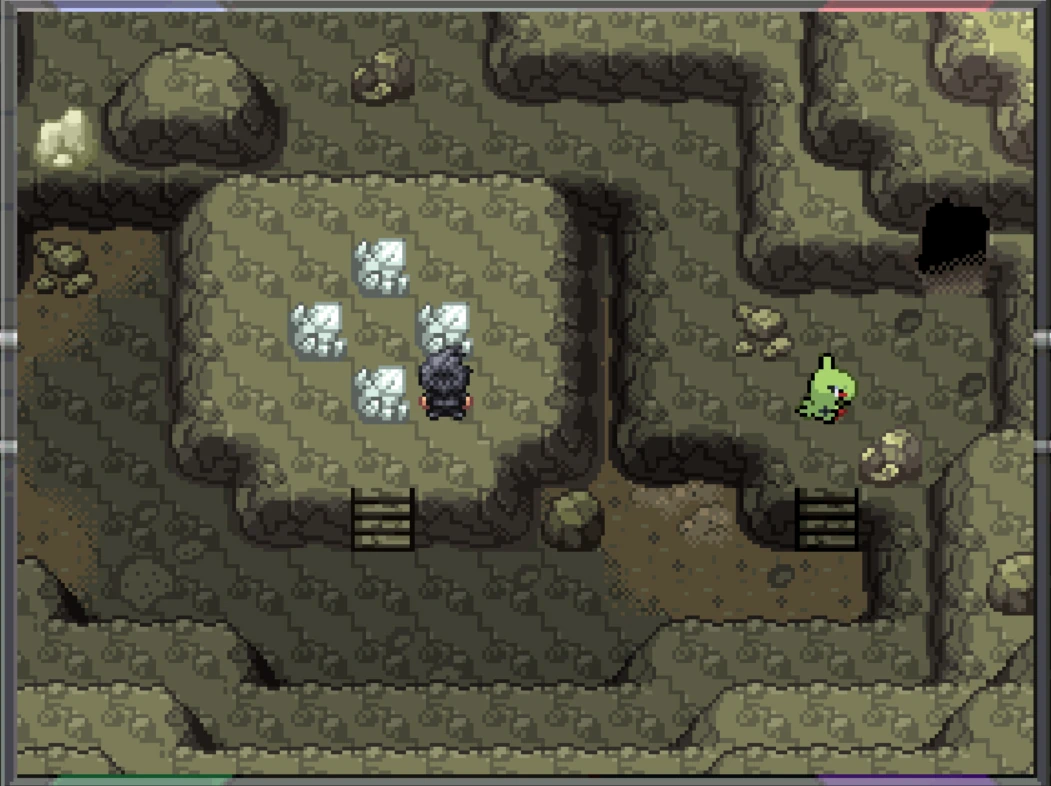
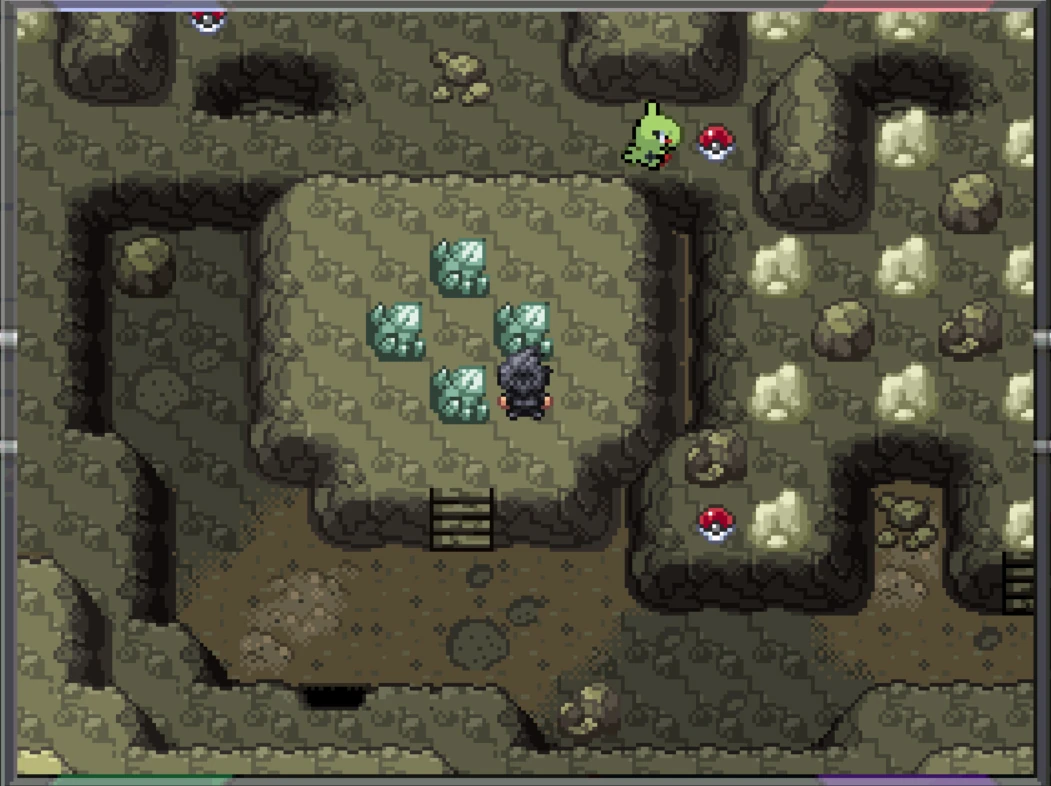
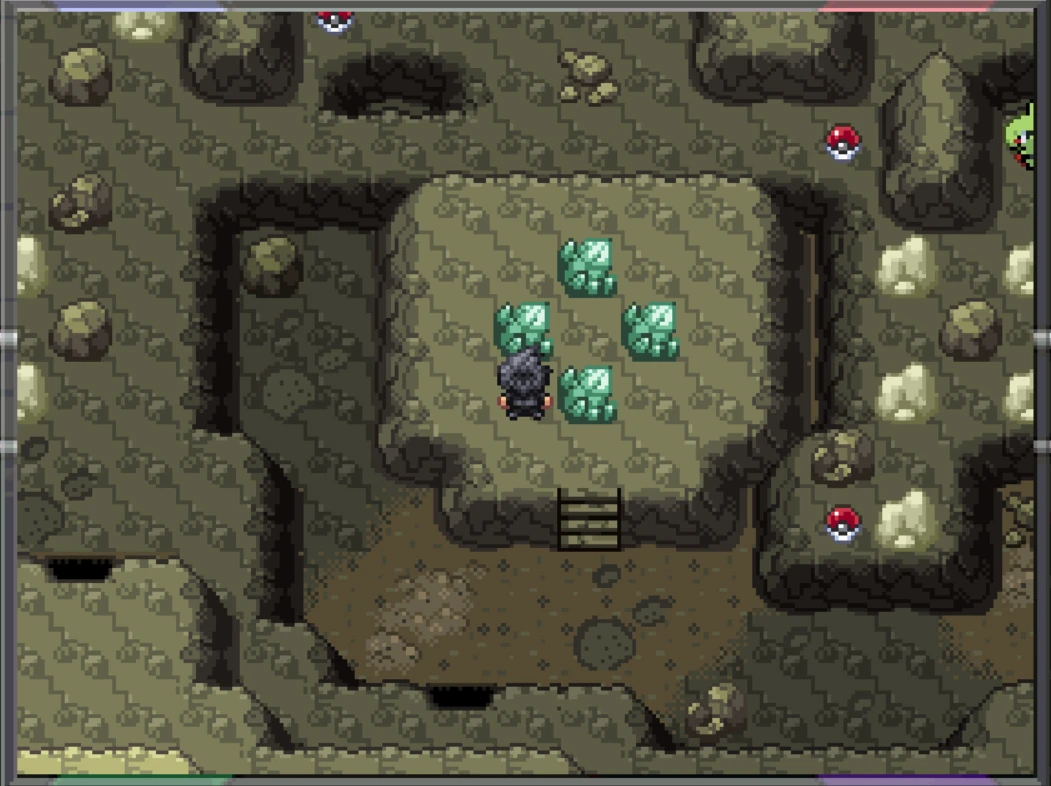
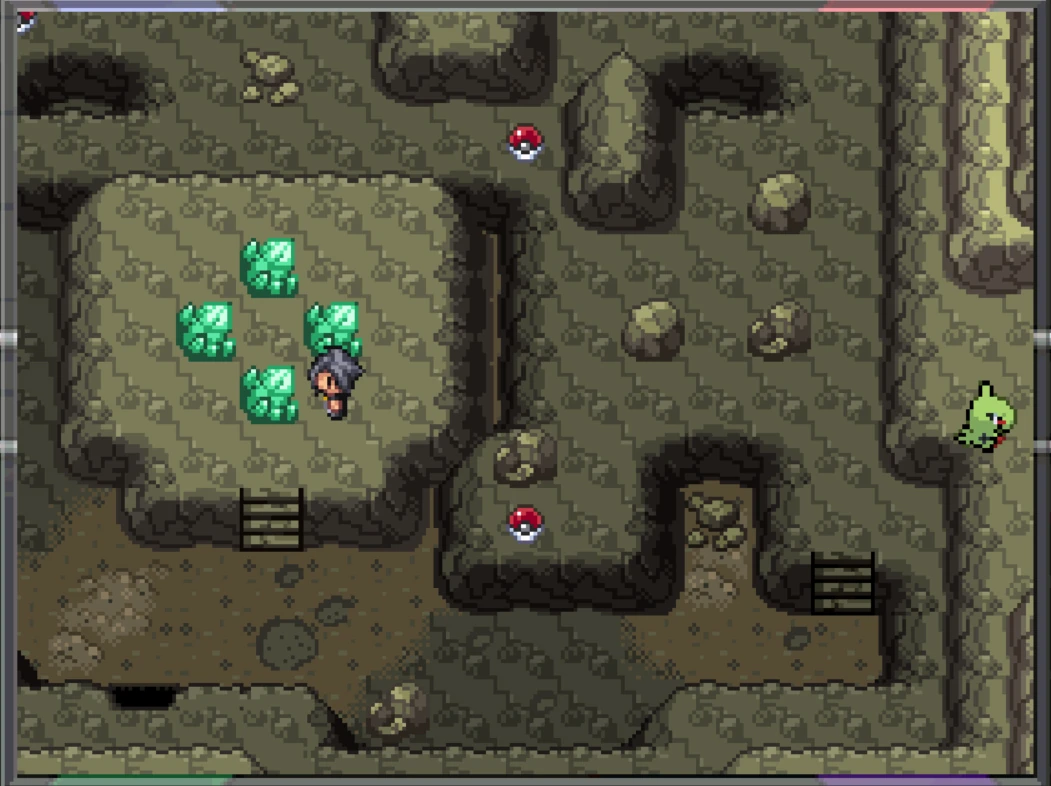
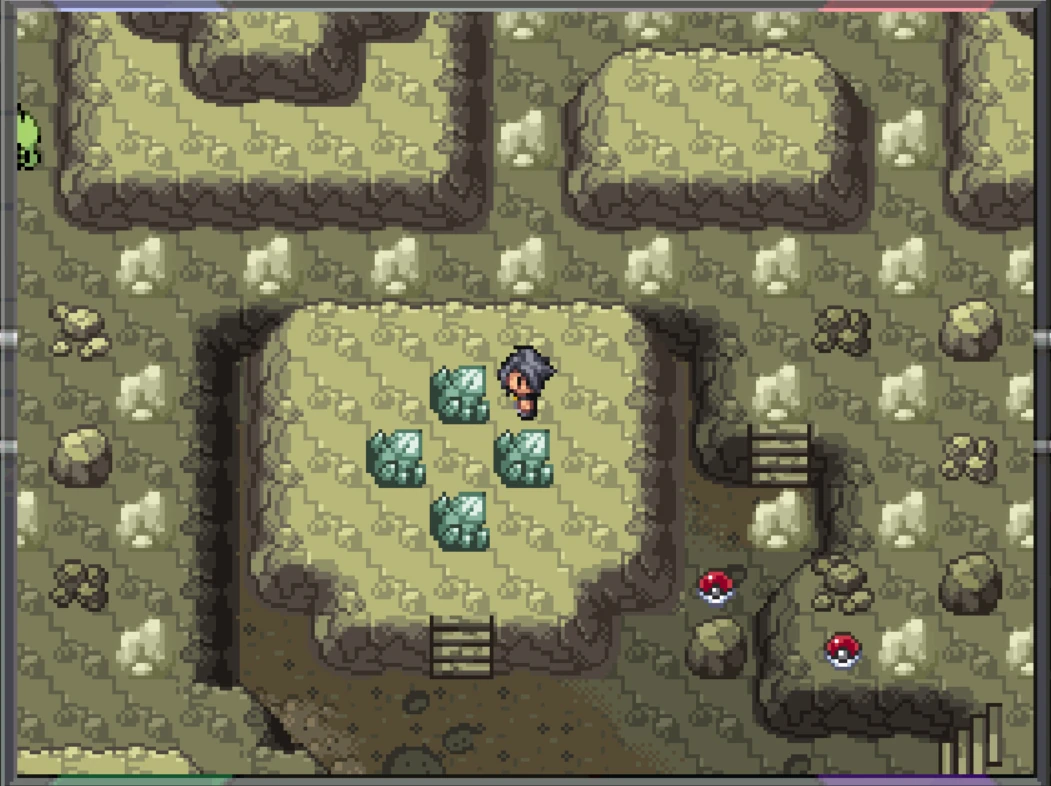
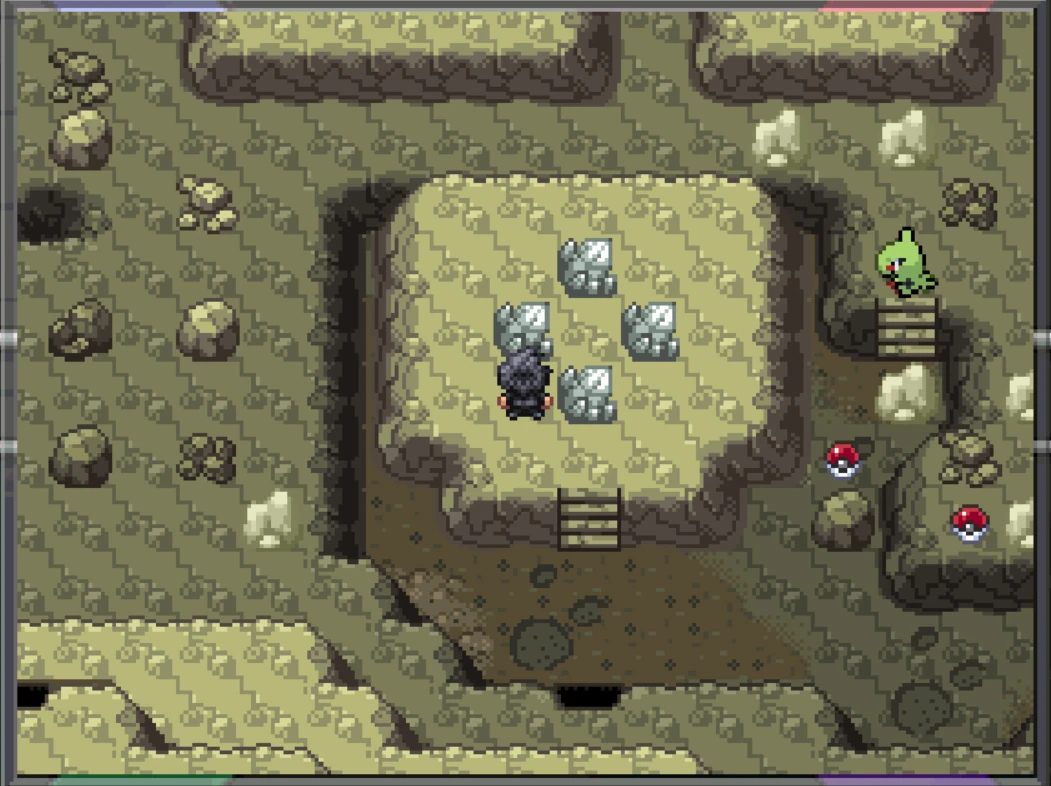
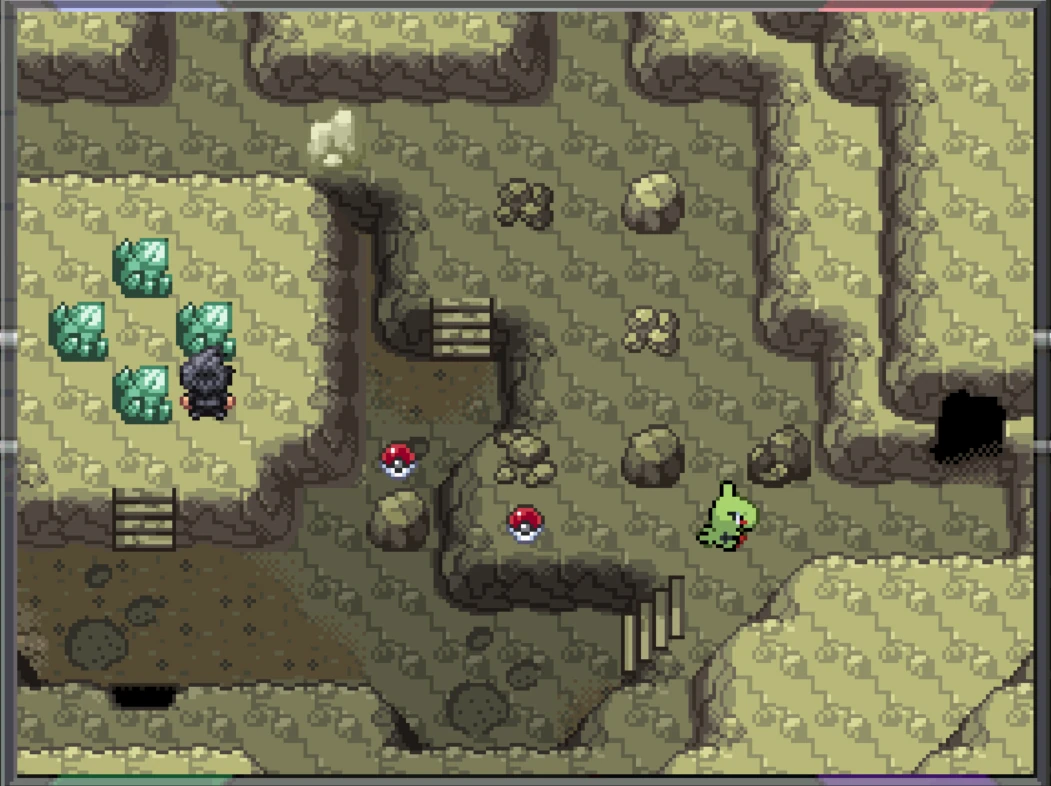
Up 1x and Right 1x. Then Left 1x and Down 1x.
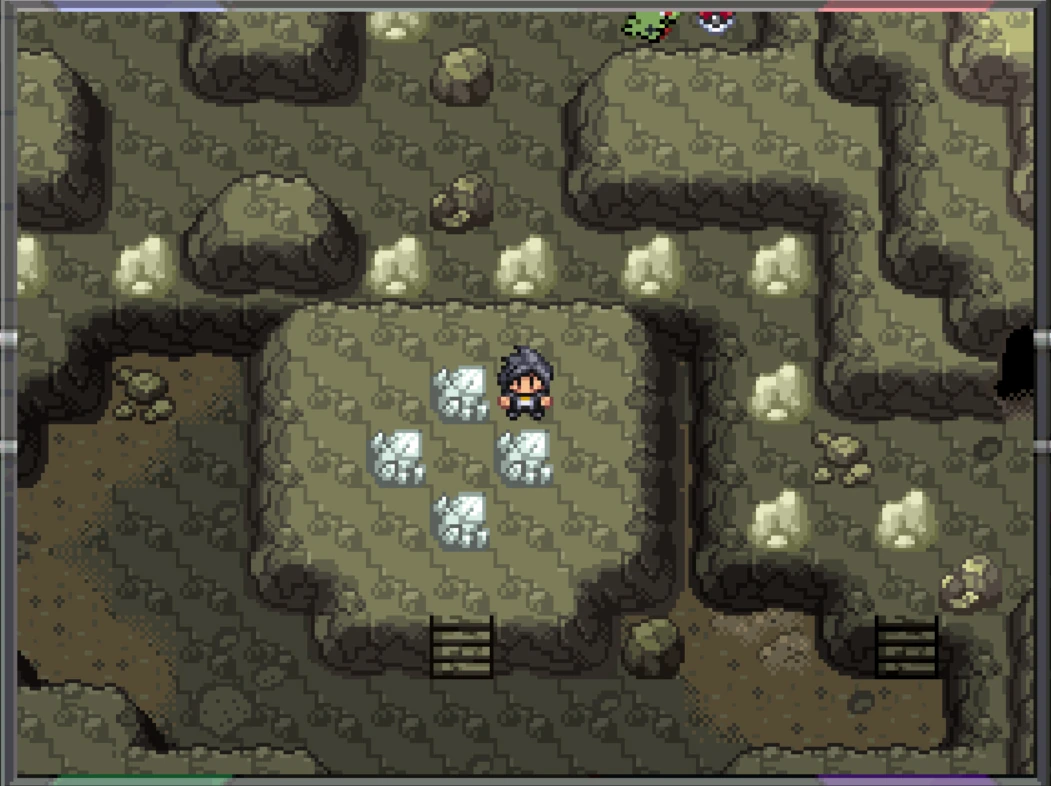
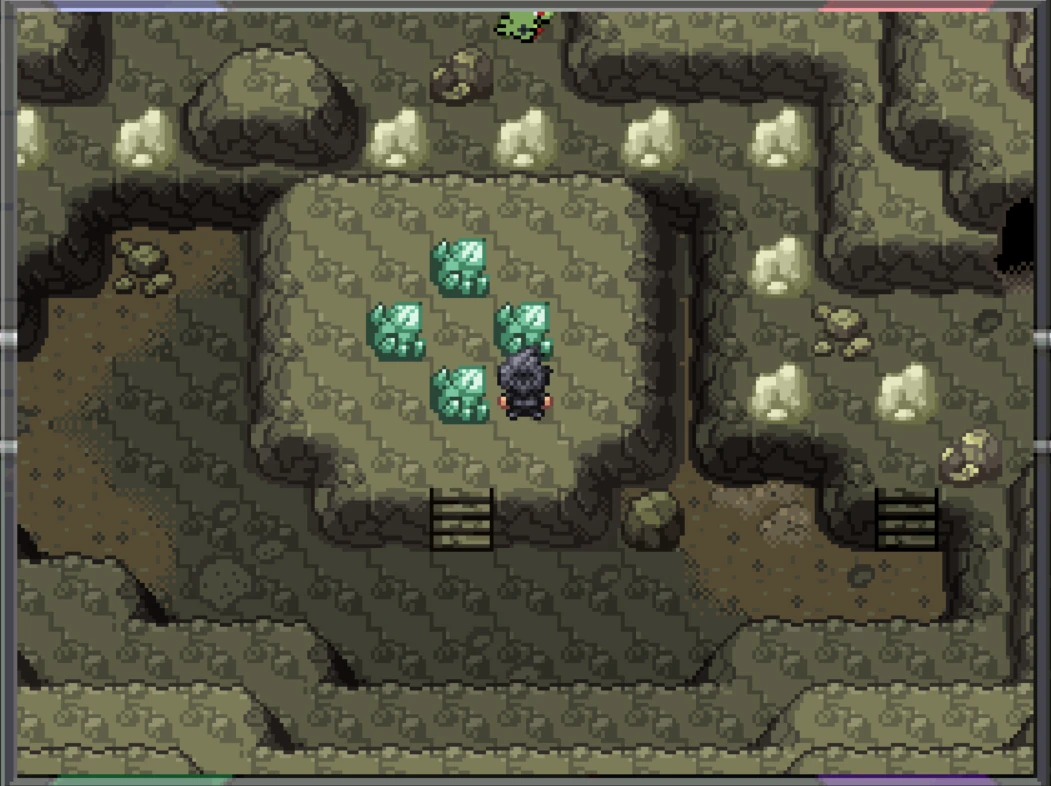
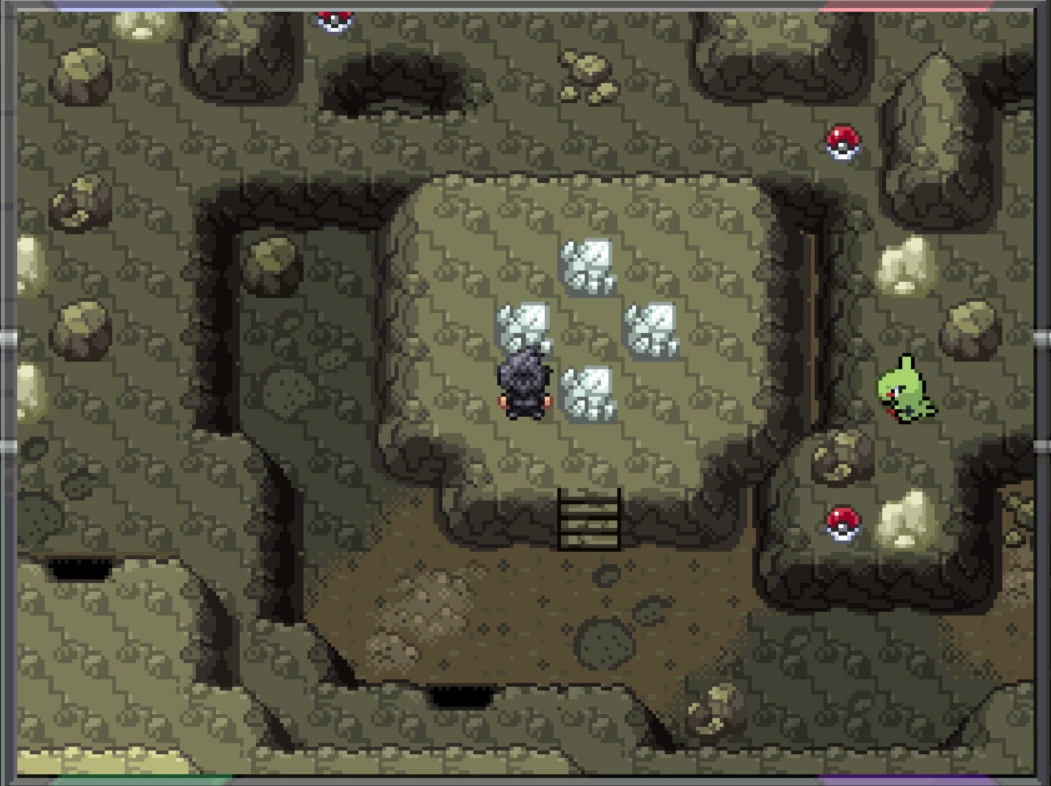
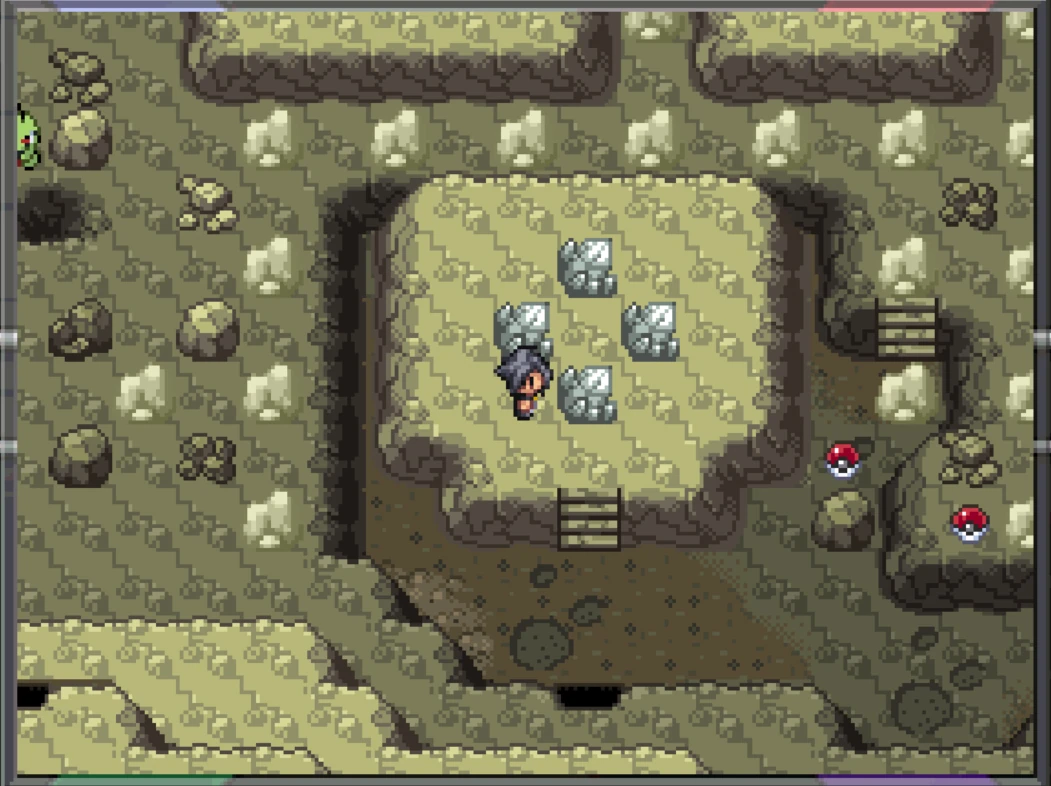
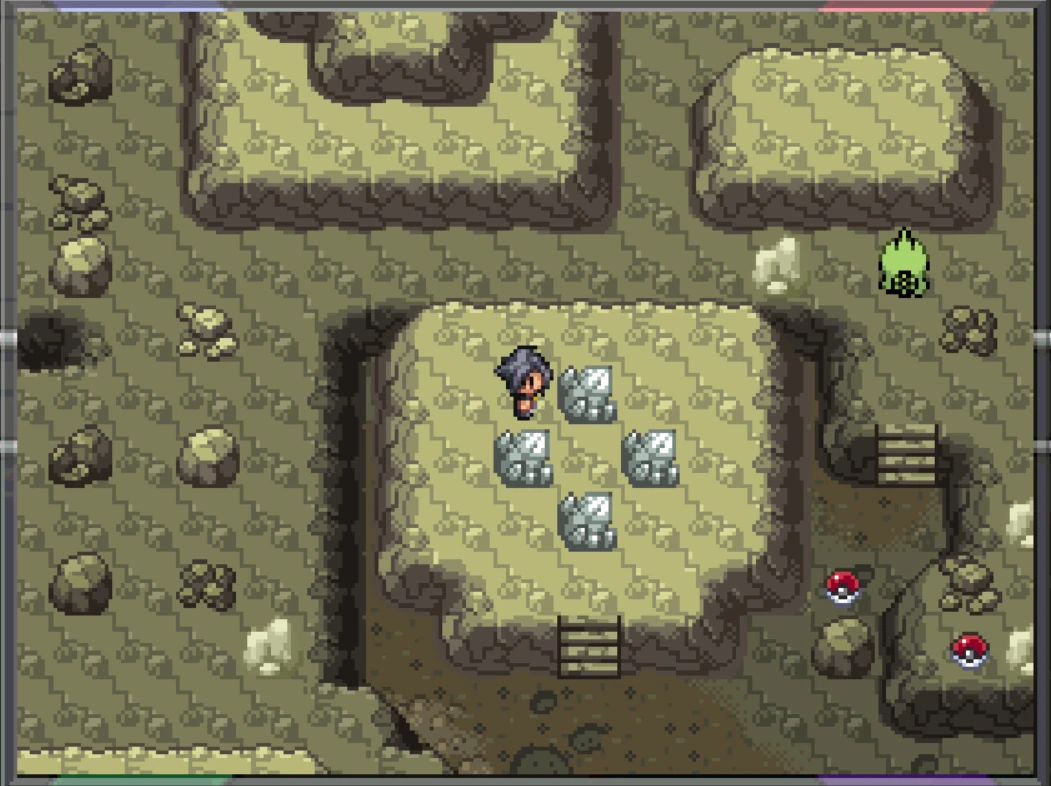
Right 3x, Down 2x, and Right 1x. You can go back up to get the two items, which are a Jolly Mint and a Timid Mint. After that, go into the opening on the right.
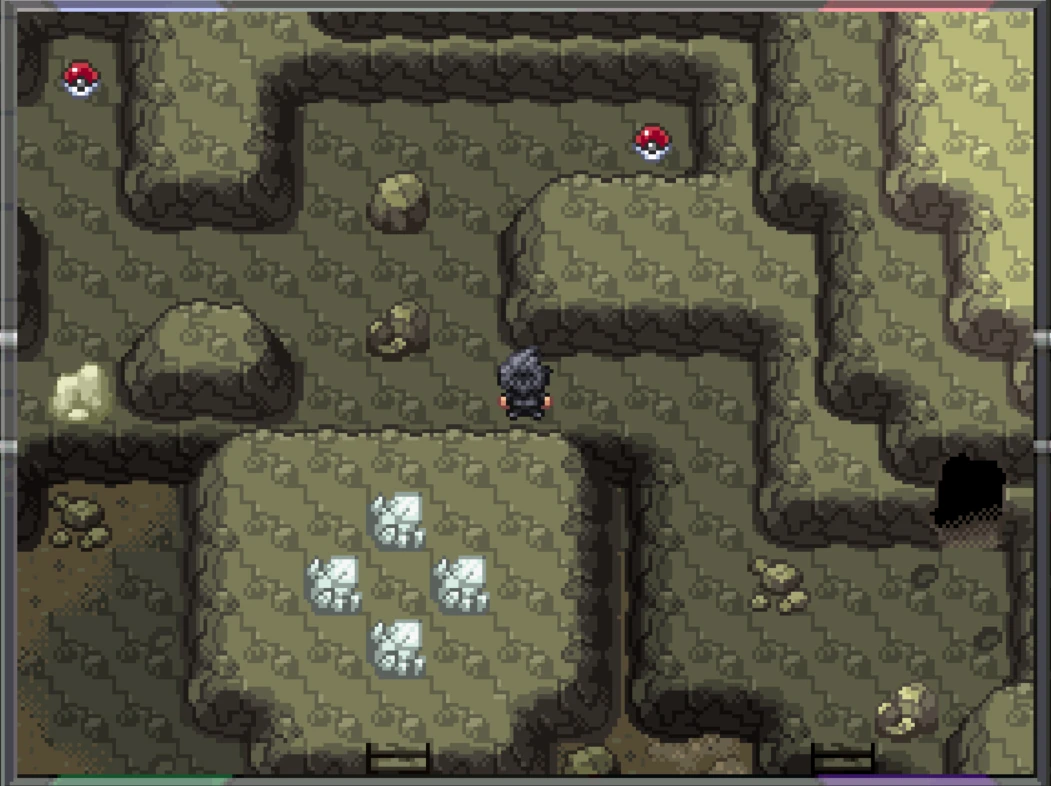
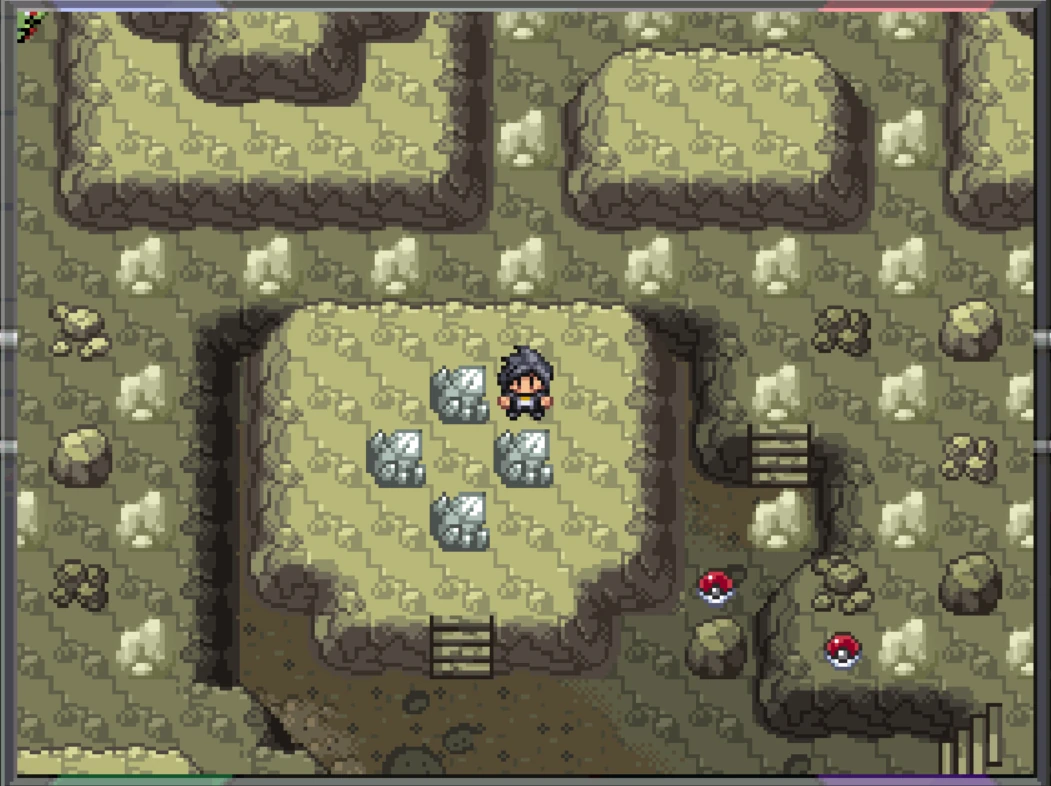
Larvitar Crystal Puzzle 2[]
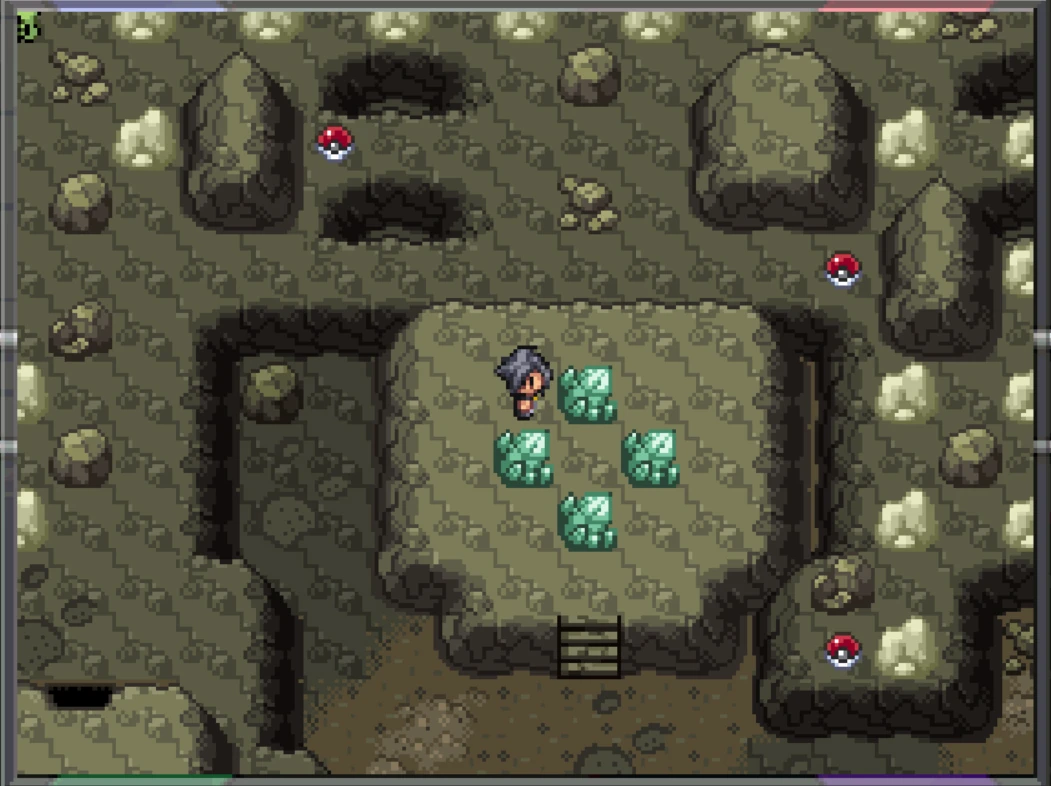
Right 1x and Up 2x. Then Right 3x and Up 1x.
Left 1x and Right 1x. Then Down 1x and Right 1x.
Left 1x and Up 2x. Then Right 7x.
Down 1x and Right 2x. Then Down 1x and Left 1x.
Down 2x and Left 1x. Then Down 1x and Up 1x.
Right 1x and Down 2x. The items will be a Focus Sash, a Modest Mint, and a Nugget. If you go all the way to the left and into the opening on the higher floor, you will go back to the previous area and get an Ability Capsule.
Go to the opening in the top right corner.
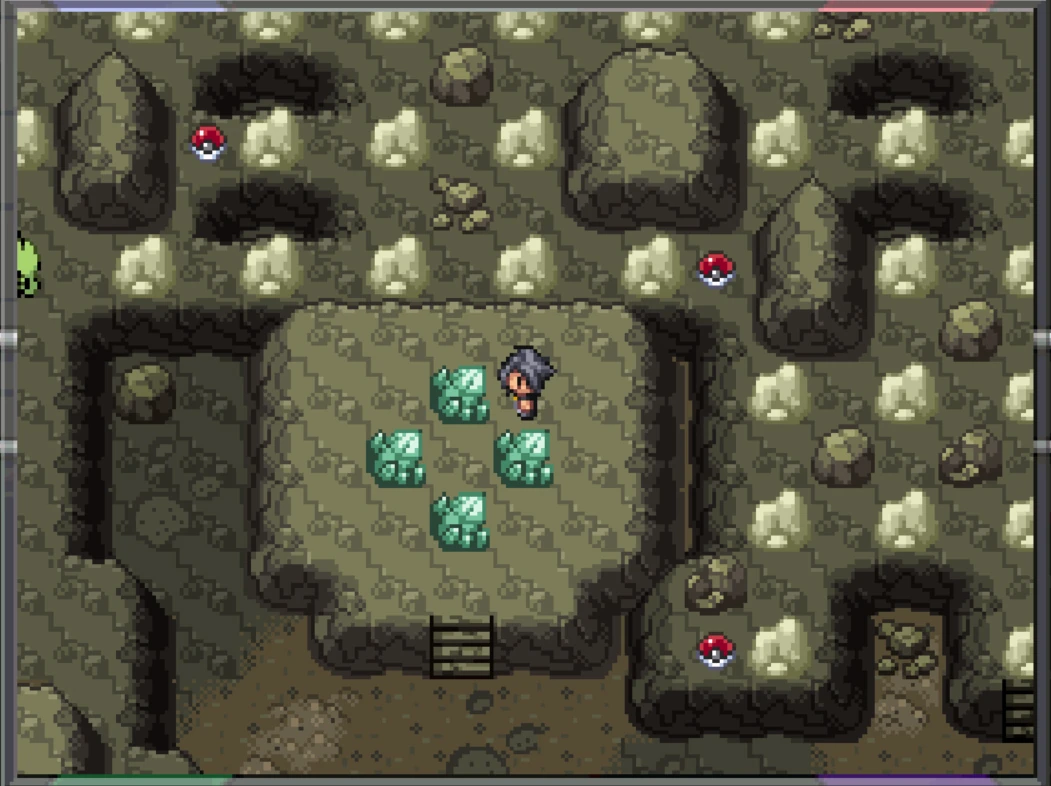
Larvitar Crystal Puzzle 3[]
Left 1x and Up 2x. Then Right 1x and Up 2x.
Left 1x and Down 1x. Then Up 1x and Right 1x.
Down 1x and Right 1x. Then Up 2x and Right 3x.
Up 2x and Right 3x. Then Down 3x and Left 1x.

Down 1x and Up 1x. Then Right 1x and Down 2x.
Left 1x and Down 1x. Then Right 1x.
The items are an Amplifield Rock, an Adamant Mint, and 4 Glitter Balls.
Larvitar, Finally[]
In the next room, you will finally be able to interact with the Larvitar to battle and capture it. The Larvitar will be Level 32 and will have one of these Egg Moves in its moveset: Dragon Dance, Curse, Iron Head, Outrage, or Stealth Rocks.